
A Fun and Easy Beauty DIY Hack Called DIY Tinted Lip Gloss To Step Up Your Makeup
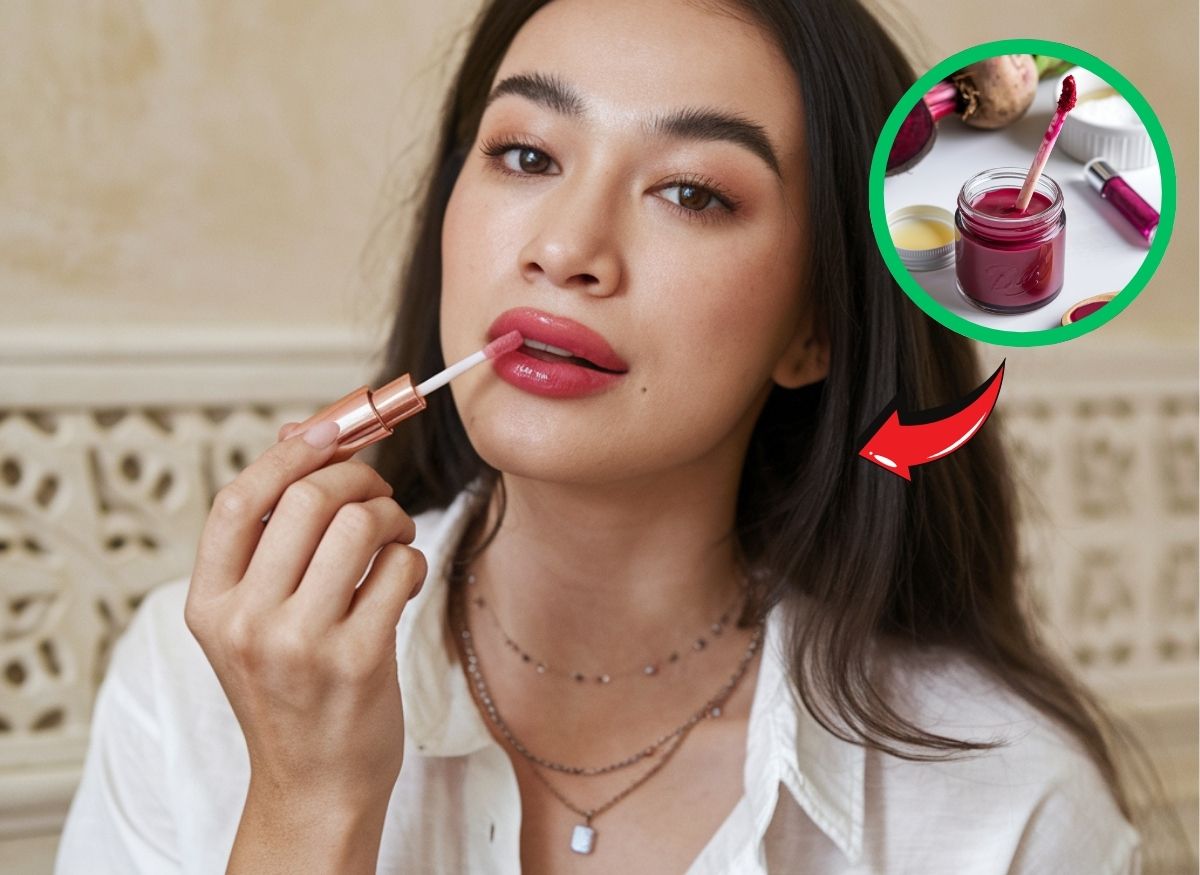
Lip gloss is a beauty essential for a reason, it adds shine, hydration, and a hint of color that enhances natural beauty. Store-bought options, though, often come packed with questionable ingredients, synthetic dyes, and preservatives.
For anyone drawn to something nourishing, customizable, and chemical-free, DIY tinted lip gloss is worth a try. It’s fun to make, easy to customize, and full of natural ingredients that keep lips soft and hydrated.
Better yet, shade, texture, and shimmer level all stay entirely within control for a genuinely personalized result.
The Benefits of Making Your Own DIY Tinted Lip Gloss
Crafting a tinted lip gloss at home is more than a fun project, it’s a genuinely smart beauty decision. Going the DIY route avoids synthetic chemicals while making sure every ingredient actually benefits the lips.
Natural moisturization: DIY tinted lip glosses often include nourishing oils like coconut oil, castor oil, and vitamin E, which deeply hydrate and soften lips.
No harsh chemicals: Many commercial lip glosses contain artificial dyes, fragrances, and preservatives that can irritate sensitive lips. With DIY, exactly what’s inside stays fully known.
Customizable shades: Full control over color intensity means anything from a sheer tint to a bold pop of color is possible.
Budget-friendly: Making lip gloss at home can save real money compared to high-end beauty brands.
Fun and creative: Mixing ingredients and experimenting with shades feels a bit like running a mini makeup lab.
Essential Ingredients for DIY Tinted Lip Gloss
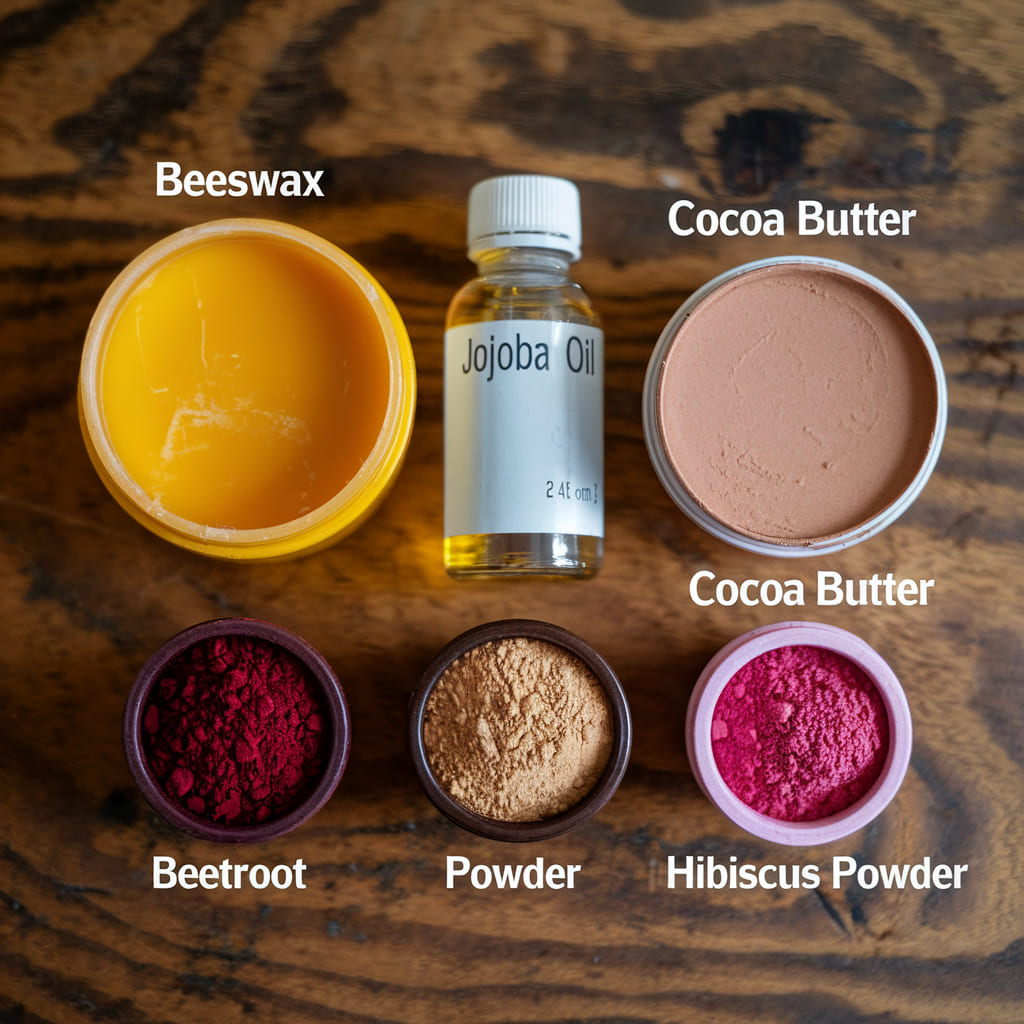
A luxurious, glossy, hydrating lip product comes down to a handful of key ingredients. These add color while nourishing lips at the same time:
- Beeswax or candelilla wax – Acts as a thickening agent, giving the lip gloss its texture and long-lasting shine.
- Coconut oil or jojoba oil – Adds moisture and makes the gloss feel smooth and lightweight.
- Shea butter or cocoa butter – Enhances hydration and creates a soft, creamy consistency.
- Vitamin E oil – Acts as a natural preservative and helps heal dry, cracked lips.
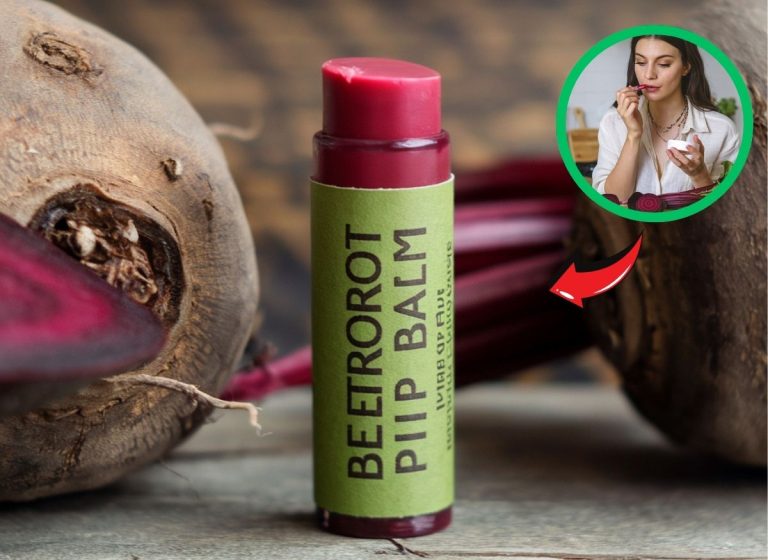
- Natural colorants – Beetroot powder, hibiscus powder, cocoa powder, or mica pigments add color.
- Essential oils (optional) – Peppermint, vanilla, or lavender essential oil adds a lovely scent and a slight plumping effect.
The Easiest DIY Tinted Lip Gloss Recipes
Now for the fun part, mixing up an actual batch. These recipes are beginner-friendly yet still deliver a genuinely glam result.
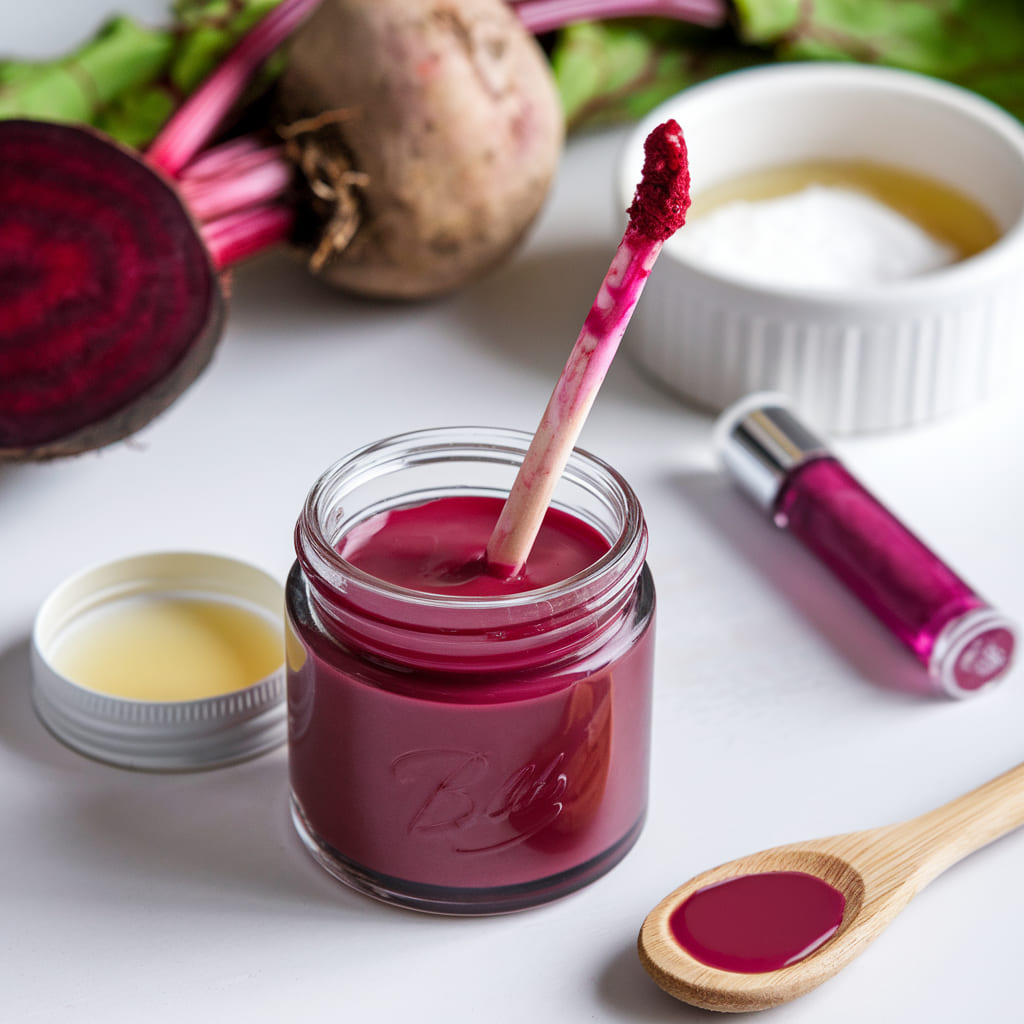
Beetroot Bliss Gloss (Deep Pink Tint)
Ingredients:
- 1 tsp beeswax
- 1 tsp coconut oil
- ½ tsp shea butter
- ½ tsp beetroot powder (for a vibrant pink hue)
- 1 to 2 drops of peppermint essential oil (optional)
Instructions:
- Melt the beeswax, coconut oil, and shea butter in a double boiler.
- Stir in the beetroot powder and mix well.
- Remove from heat and add the essential oil.
- Pour into a small container and let it cool before use.
Berry Delight Gloss (Rosy Red Tint)
Ingredients:
- 1 tsp candelilla wax (vegan option)
- 1 tsp jojoba oil
- ½ tsp cocoa butter
- ½ tsp hibiscus powder (for a warm, berry tone)
- 2 drops vanilla extract (optional, for a delicious scent)
Instructions:
- Melt the wax, jojoba oil, and cocoa butter together.
- Mix in the hibiscus powder while stirring continuously.
- Add the vanilla extract for a sweet touch.
- Transfer into a lip gloss container and let it set.
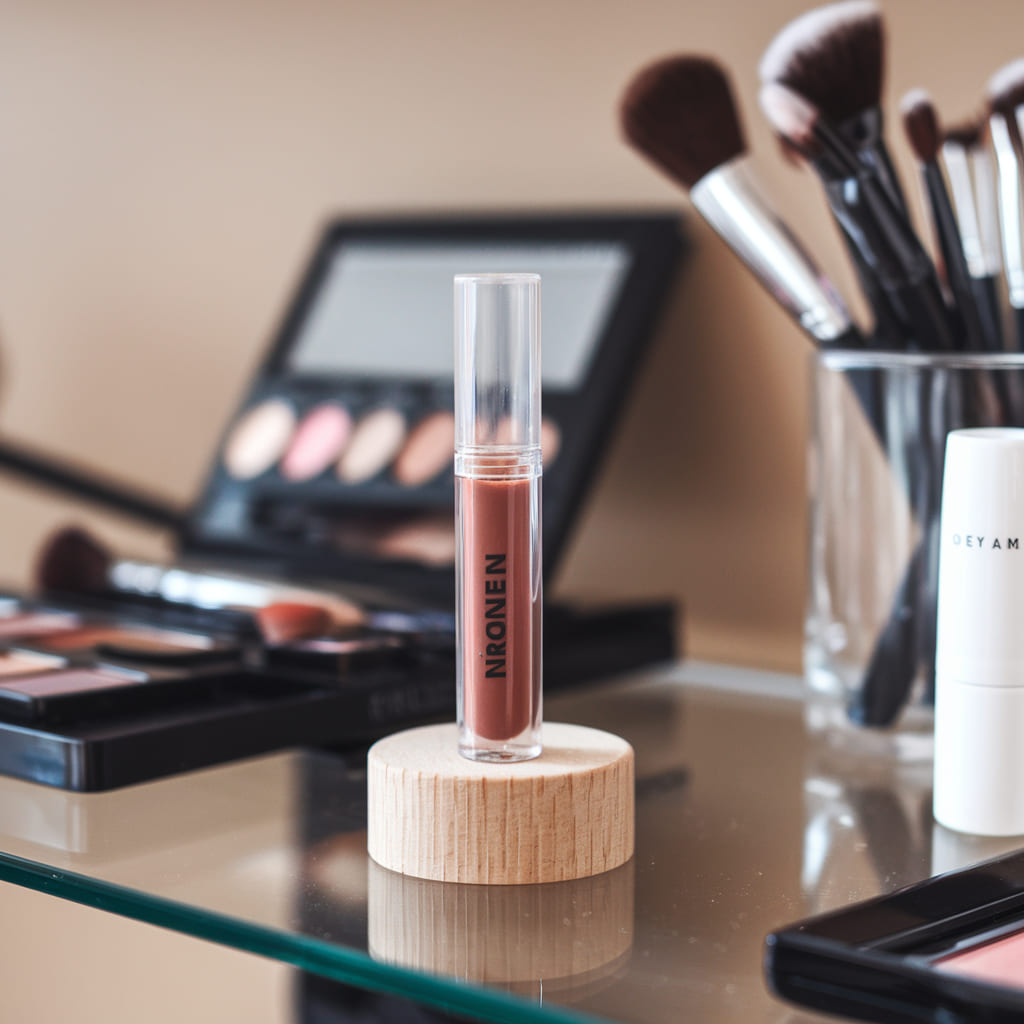
Chocolate Kiss Gloss (Nude Brown Tint)
Ingredients:
- 1 tsp beeswax
- 1 tsp almond oil
- ½ tsp cocoa butter
- ½ tsp cocoa powder (for a chocolatey brown tint)
- 1 to 2 drops cinnamon essential oil (optional, for a slight plumping effect)
Instructions:
- Melt the beeswax, almond oil, and cocoa butter.
- Stir in the cocoa powder until fully blended.
- Add the cinnamon essential oil for a touch of warmth.
- Pour into a lip gloss tube and let it solidify.
How to Customize Your DIY Tinted Lip Gloss Shades
One of the best things about DIY tinted lip gloss is just how versatile it is. More pigment builds a bolder shade, while less creates a sheer, glossy finish. A few fun ways to mix things up:
- For a shimmery glow: Add a pinch of cosmetic-grade mica powder.
- For a deeper shade: Mix in activated charcoal for a sultry plum hue.
- For extra hydration: Increase the amount of coconut or jojoba oil.
- For a matte look: Add a bit of cornstarch or arrowroot powder.
Storing and Using Your DIY Tinted Lip Gloss
Since DIY lip gloss skips synthetic preservatives, storing it in a cool, dry place matters.
Small lip balm tins, tubes, or jars with airtight lids keep things fresh. Homemade gloss typically lasts about 3 to 6 months. A change in smell or texture is the signal it’s time for a new batch.
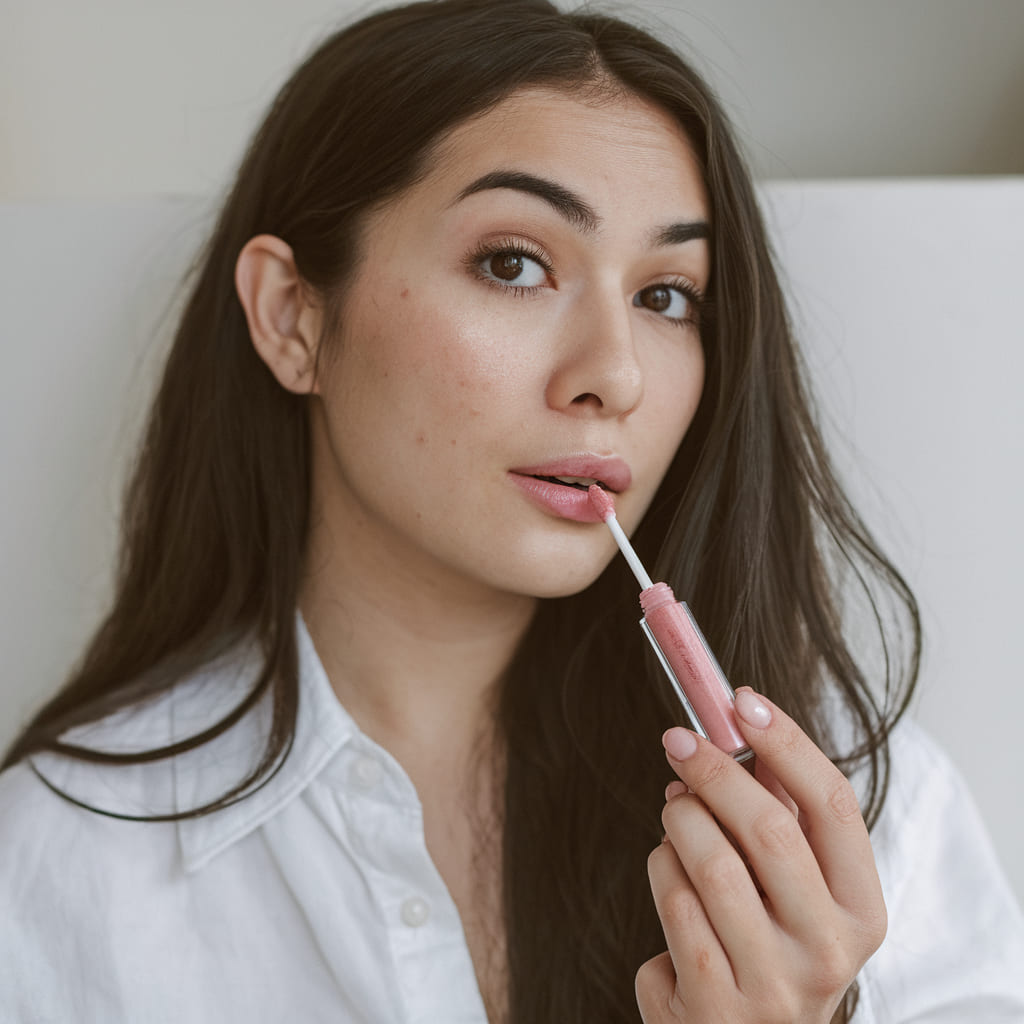
Applying is simple, a lip brush or fingertip glides the DIY tinted lip gloss right onto the lips. Reapplying as needed keeps that fresh, hydrated shine going throughout the day.
Disclaimer
This article is for informational purposes only and is not intended as medical or cosmetic advice. For sensitive skin or allergies, consulting a dermatologist before trying homemade beauty products is always a good idea.
Making a DIY tinted lip gloss is a fun, creative experience, and also an empowering way to take real control over what goes on the lips. Ditching the store-bought products for a bit of DIY might be worth the switch.