
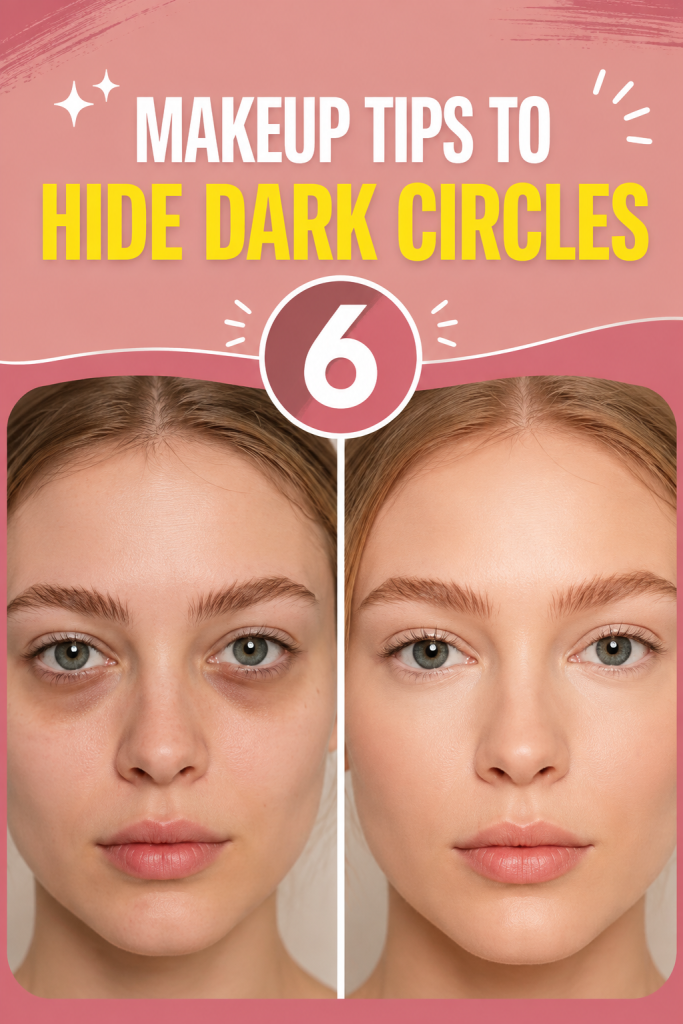
How to Completely Hide Dark Circles: 6 Makeup Tips That Actually Work
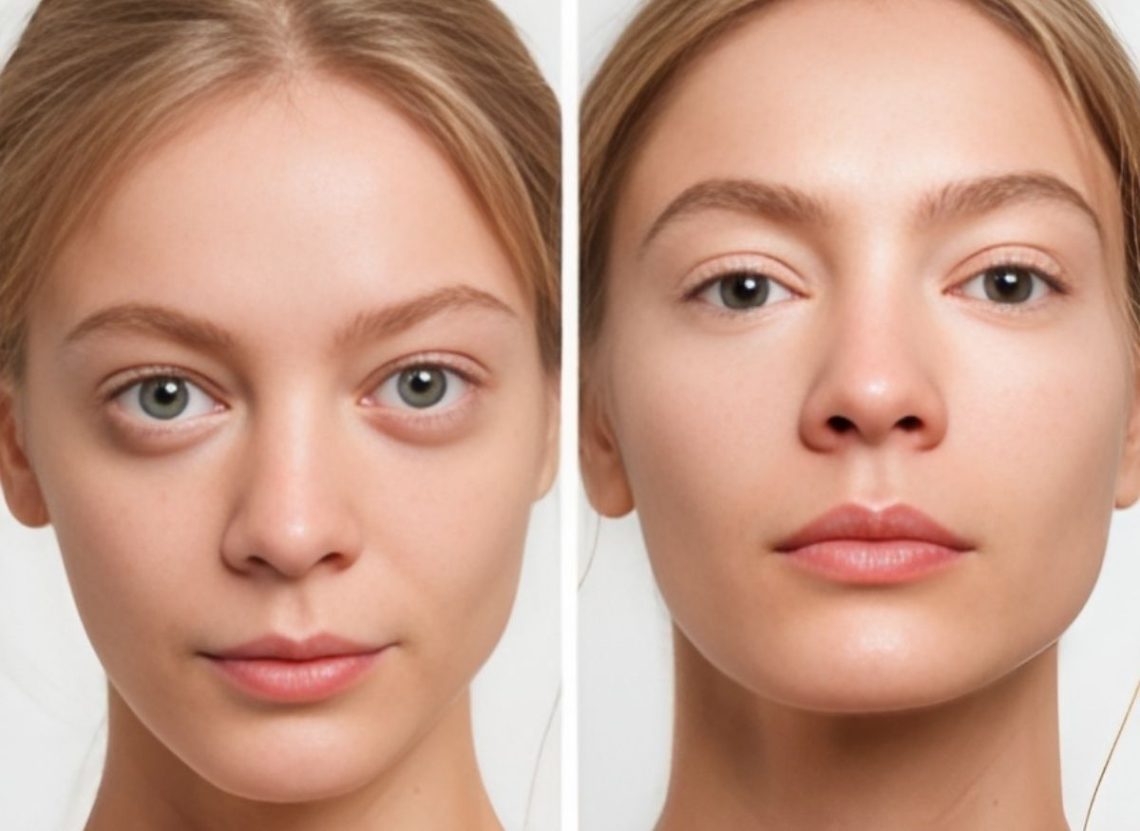
If you want your makeup to look polished, or just want your face to look brighter overall, covering dark circles is the first thing to nail. Get this step right and your whole face instantly looks fresher.
If you’ve already found products that work for your skin, great. If not, no worries, this guide walks through everything from picking the right products to actually applying them.
Save these tips and put them to use today, panda eyes don’t stand a chance.
How To Hide Dark Circles: Depuff Your Eyes
Feeling like a sleepy panda thanks to dark circles? Time to banish the puffiness.
The first and arguably most important step in hiding dark circles is depuffing the eyes. This simple trick makes a real difference toward a refreshed, youthful look.
Nothing beats a cool compress for puffiness. Grab a couple of chilled cucumber slices or spoons from the fridge and gently place them over closed eyes for 10 to 15 minutes.
The cold reduces swelling and soothes tired eyes. Turn it into a mini spa moment with some relaxing music for extra points.
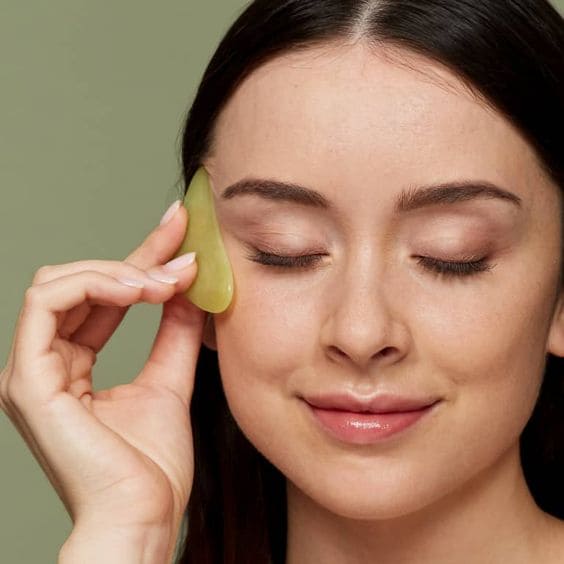
Jade rollers and gua sha tools are great if you want to level up the depuffing routine. These tools improve circulation, reduce swelling, and help skin absorb products more effectively.
Keeping them cool in the fridge adds an extra refreshing effect during the massage. Just use them after applying a serum or oil, not on bare skin.
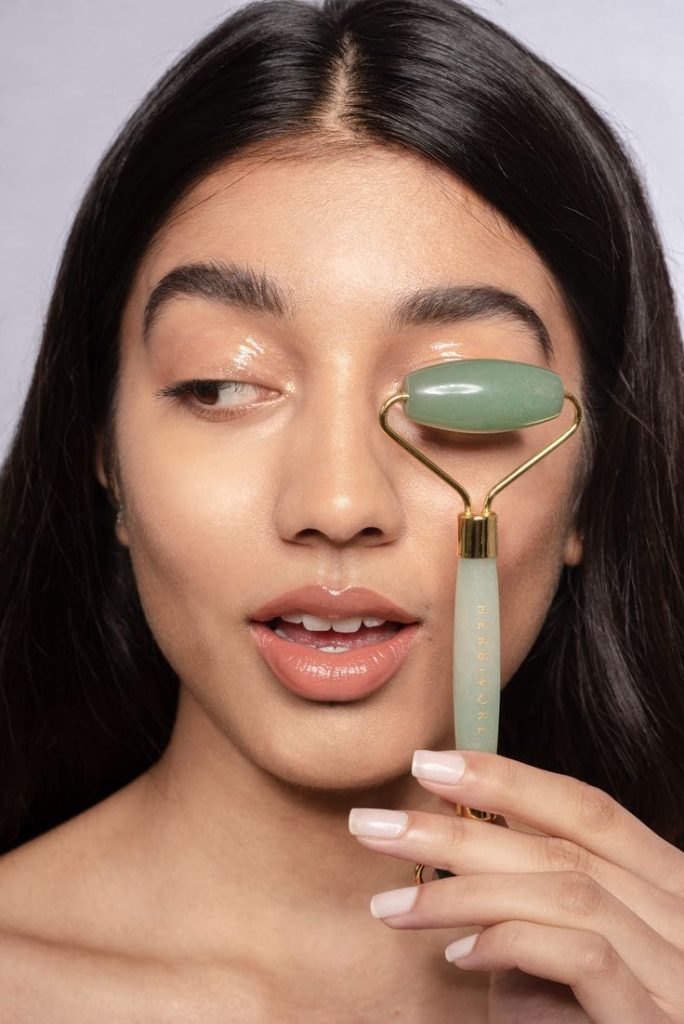
Depuffing is a fantastic first step toward hiding dark circles. These simple tricks set the stage for looking refreshed and vibrant.
Prepping Your Skin
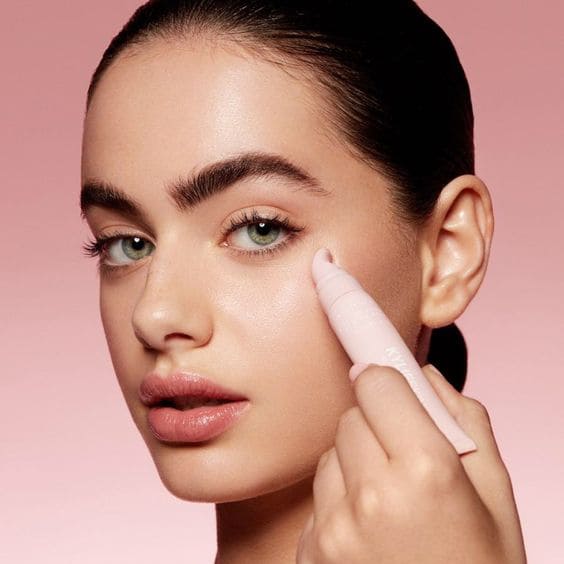
Once the eyes are depuffed, the next step is prepping the skin, essentially creating a smooth canvas for everything else to work properly.
Proper prep doesn’t just help disguise dark circles, it also makes the rest of your makeup perform better.
Hydration matters most for plump, healthy-looking skin. Combine this step with the jade roller or gua sha massage mentioned earlier.
Apply a hydrating serum or moisturizer under the eyes, looking for ingredients like hyaluronic acid, which draws moisture into the skin and makes it look plumper and less shadowed.

A good primer is a real asset here too. Primers create a smooth base that helps makeup stay put and look flawless throughout the day.
Choose a primer with light-reflecting properties for a subtle glow that helps minimize the look of dark circles.
Prepping the skin properly makes a real difference in the overall result, giving you a flawless, smooth canvas to build on.
Concealer Shade Choosing Tip
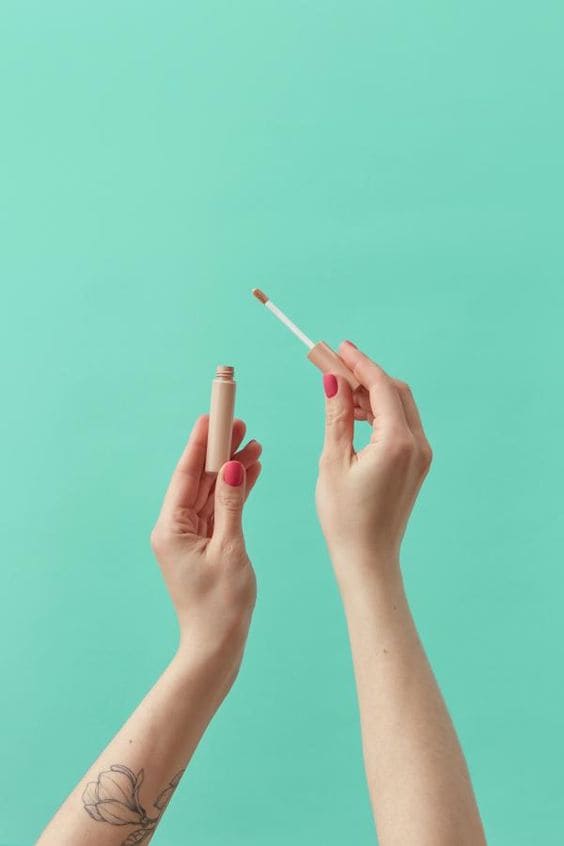
This step is essential for effectively hiding dark circles and brightening the under-eye area.
First, know your undertone, cool, warm, or neutral, since it matters a lot here.
For effective coverage, choose a concealer one to two shades lighter than your foundation. This brightens the under-eye area and helps counteract the darkness.
Going too light can look unnatural, so aim for a subtle lift rather than a dramatic contrast. Check the shade in natural light to make sure it matches well and provides the coverage you need. Most beauty stores offer testers, so take advantage of them.
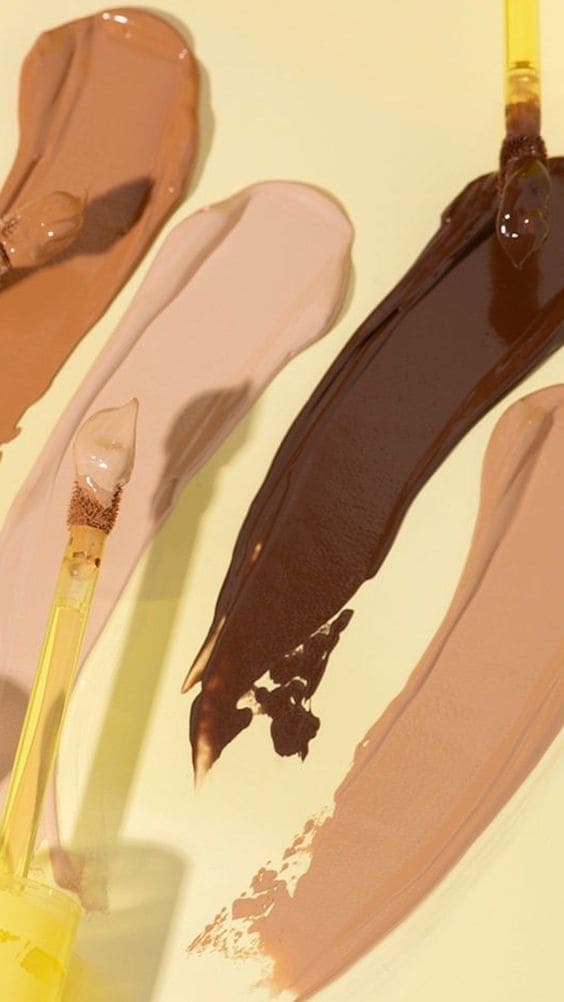
Creamy formulas generally work best under the eyes since they blend seamlessly and don’t settle into fine lines. Dry skin does well with a hydrating concealer, while a matte finish tends to suit oily skin better.
For very dark circles, a color corrector before concealer can make a noticeable difference.
Peach or orange correctors neutralize blue and purple tones, while pink or red correctors work better for brown tones. Apply the corrector sparingly and blend it in before layering concealer on top.
Using The Right Tool
The tool used to apply concealer can make a big difference in how well dark circles get covered, affecting coverage, blendability, and overall finish.
A concealer brush offers precision and works well for targeting specific areas. Look for one with synthetic bristles, which pair well with liquid and cream formulas.
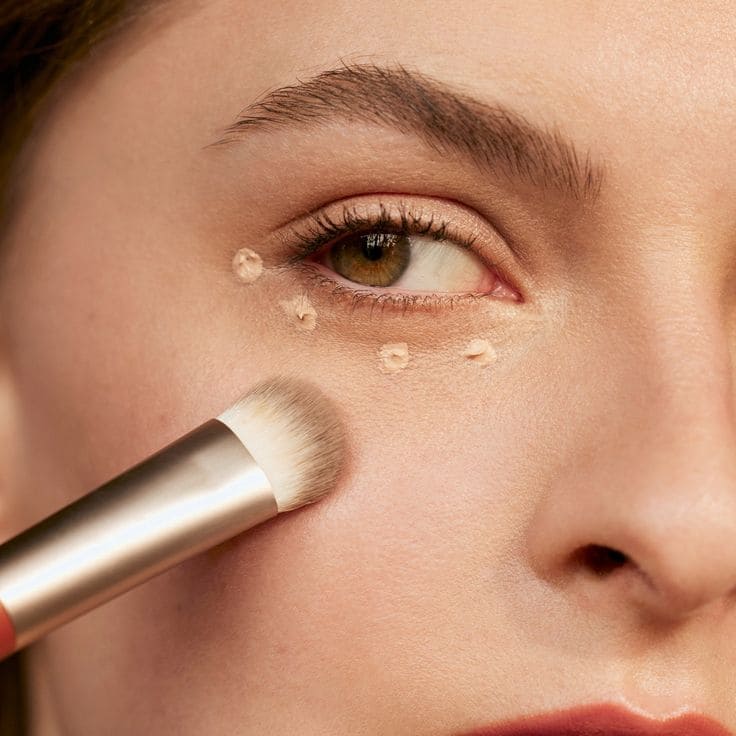
A small, flat brush works great for precision, while a fluffy brush helps with blending. It can take a bit longer to blend perfectly, and streaks can show up if the brush isn’t used carefully.
A damp makeup sponge is excellent for a natural, airbrushed finish without looking cakey, and it’s especially useful for blending out full-coverage concealers.
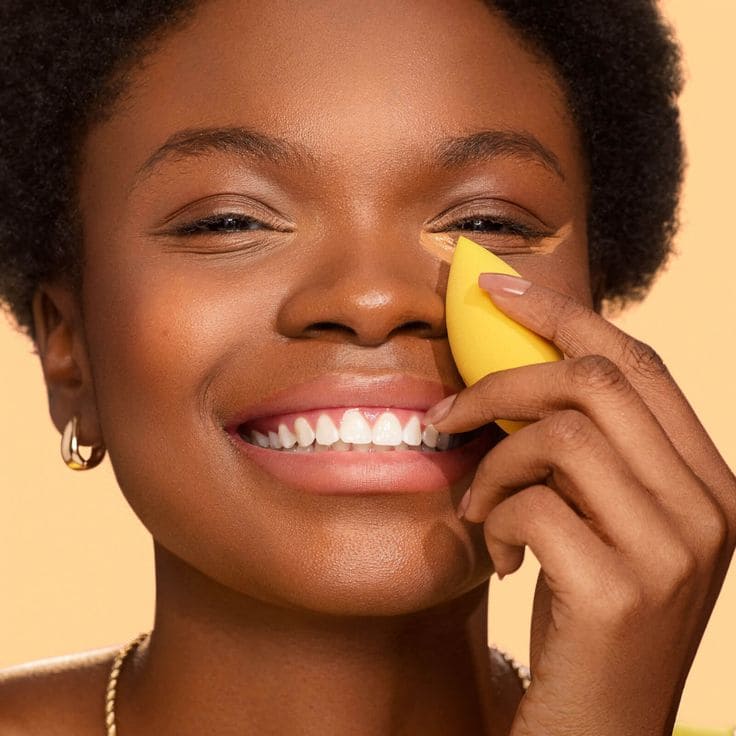
That said, sponges need regular cleaning to avoid bacteria buildup and can absorb more product, leading to some waste.
Choosing between a sponge and a brush really comes down to personal preference and what result you’re after.
Blending Technique Matters
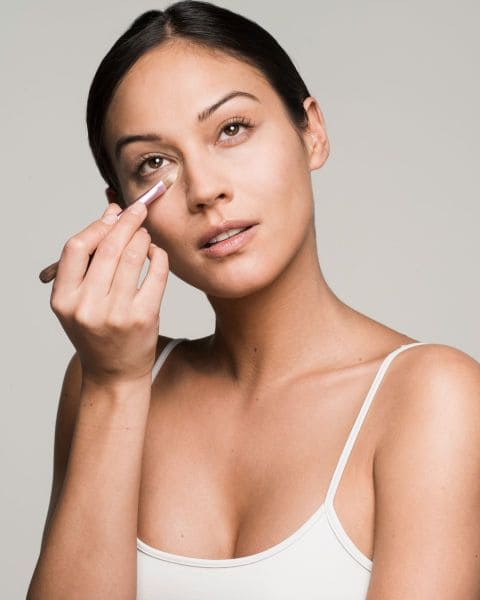
Blending is the real secret to hiding dark circles and getting a natural, flawless finish. Even the best concealer in the perfect shade won’t look right without proper blending technique.
Start by applying small dots of concealer under the eyes, focusing on the darkest areas. This keeps you from using too much product, which can lead to a cakey finish.
Whether you’re using a brush or a sponge, this dotting method helps distribute product evenly before blending.
With a makeup sponge, a bouncing motion works best. Press the sponge lightly against the skin and bounce it to blend the concealer in.
This pushes the product into the skin so it melds with the foundation rather than sitting on top of it.
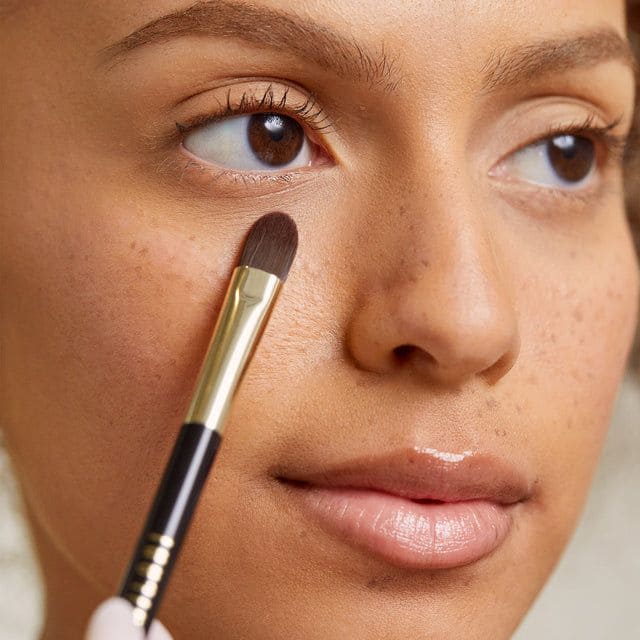
With a concealer brush, stippling is the way to go. Use a small, flat brush to dab concealer into the skin, focusing on the darkest spots first, then blending outward.
Stippling builds coverage without moving the product around too much.
Blending matters, but over-blending can backfire. Too much blending can thin out the coverage and make the concealer less effective.
Blend enough to eliminate harsh lines, but stop before you lose the coverage you built up.
Setting Is The Key
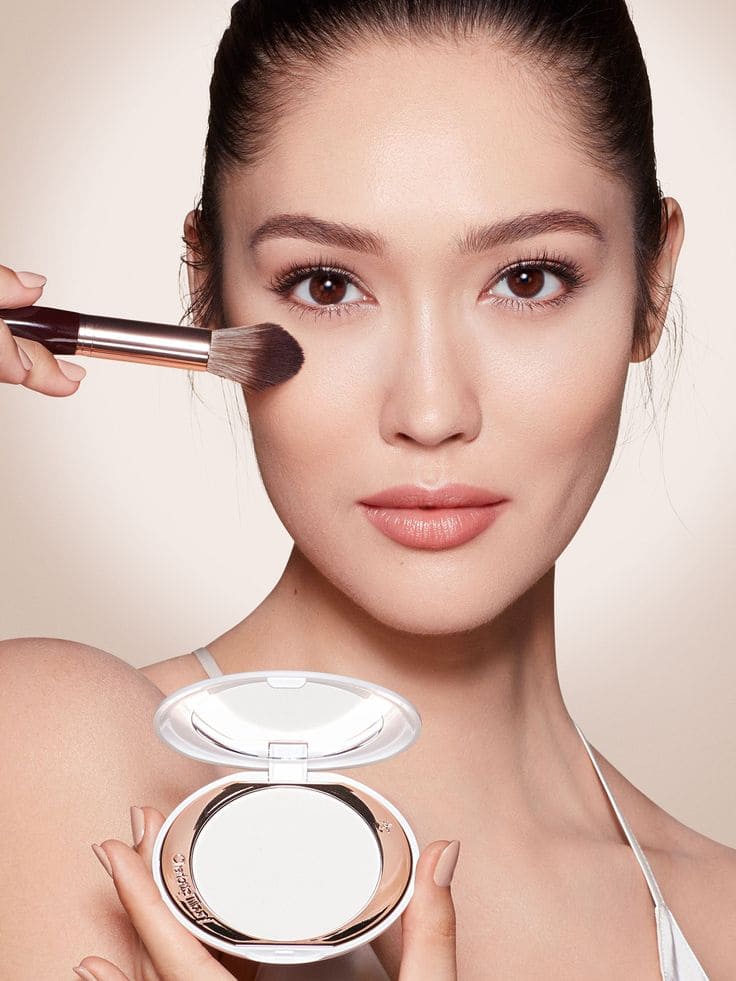
The final step to keeping dark circles hidden all day is setting the makeup. This prevents creasing and smudging while helping everything hold up through a long day.
A finely milled, translucent powder is lightweight and doesn’t add extra color, which keeps the under-eye area looking bright rather than dull.
Avoid powders with a heavy, cakey finish, since they can make the delicate under-eye skin look dry and prone to creasing.
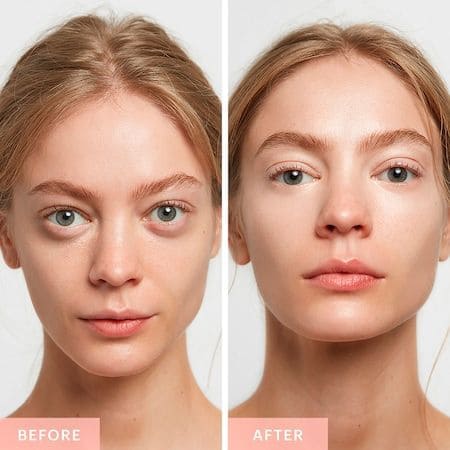
For makeup that needs to last through a long day or a special event, baking is worth trying. After applying concealer, use a damp sponge to press a generous amount of translucent powder over the area.
Let it sit for 5 to 10 minutes so body heat sets the powder, then gently dust off the excess with a fluffy brush. This technique gives a flawless, crease-free finish that holds up all day.
Some Notes
Following these steps correctly makes hiding dark circles pretty straightforward, but a few extra habits can help even more.
A consistent skincare routine is the first line of defense. Use a gentle cleanser followed by a hydrating eye cream, morning and night.
Dehydration tends to make dark circles more noticeable. Drinking plenty of water throughout the day keeps skin hydrated from the inside out, and well-hydrated skin looks plumper and more radiant, which helps minimize dark circles.

Diet plays a role too. Foods rich in vitamins, iron, and antioxidants can help reduce dark circles over time. Leafy greens, citrus fruits, nuts, and whole grains are all good additions for a brighter complexion.


Lack of sleep is a major contributor to dark circles as well. Aim for 7 to 9 hours of quality sleep a night, and elevate your head with an extra pillow to prevent fluid from pooling under the eyes, which can lead to puffiness and darker circles.
Combine these habits with the makeup steps above and dark circles become much easier to manage, leaving you with a brighter, more refreshed look overall.
Stick with these tips and your eyes will thank you.