
Halo Eye Makeup: The Ultimate Guide for a Standout Look
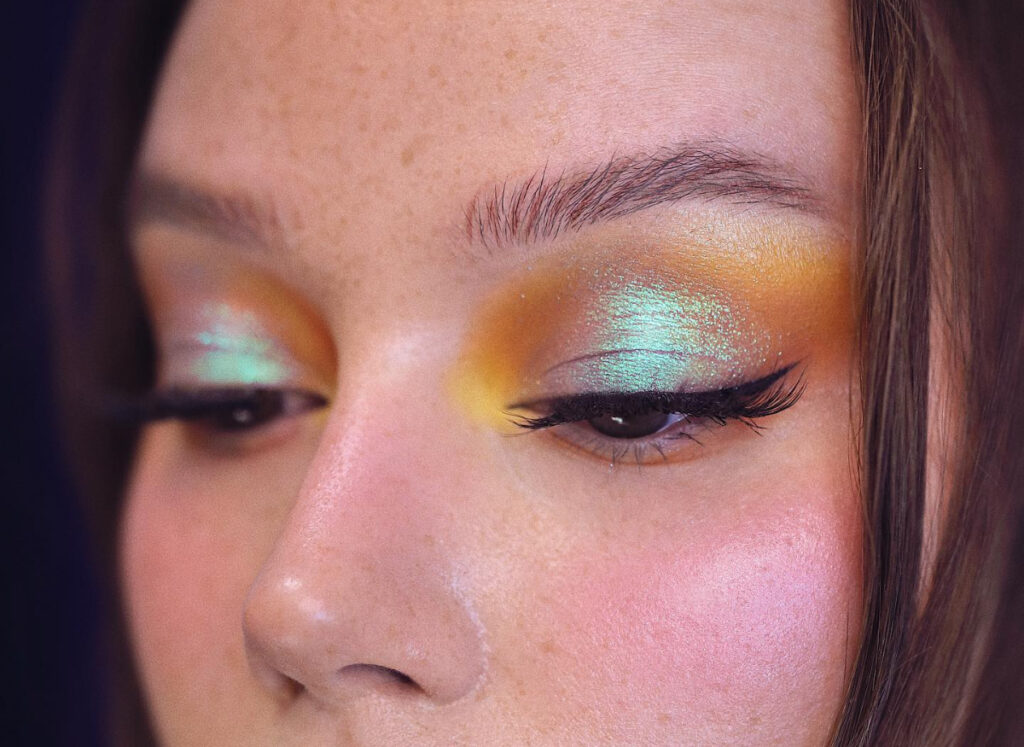
Looking for something different from the usual smokey eye? Want a look that helps you shine no matter the occasion? The halo eye might be exactly what you need.
This technique isn’t new, but it’s making a serious comeback lately. Done right, it brings out your eyes and turns heads wherever you go.
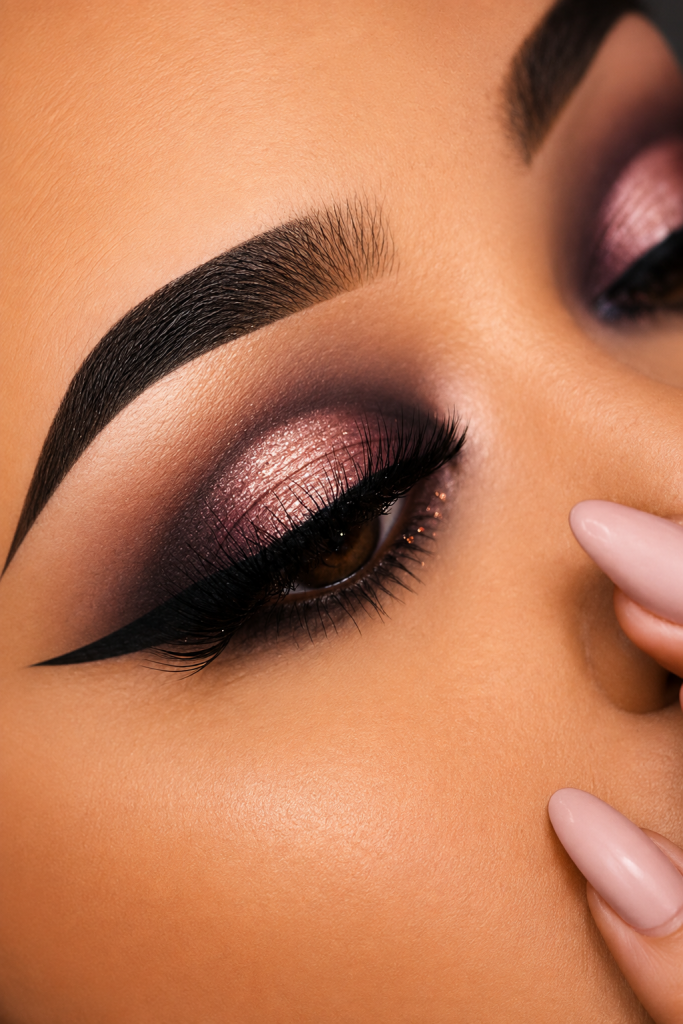
The best part is you don’t need professional-level skill to pull it off. Once you understand the basic steps, it comes together pretty easily.
Keep scrolling to learn how to nail this eyeshadow technique.
What You’ll Need For The Halo Eye Makeup
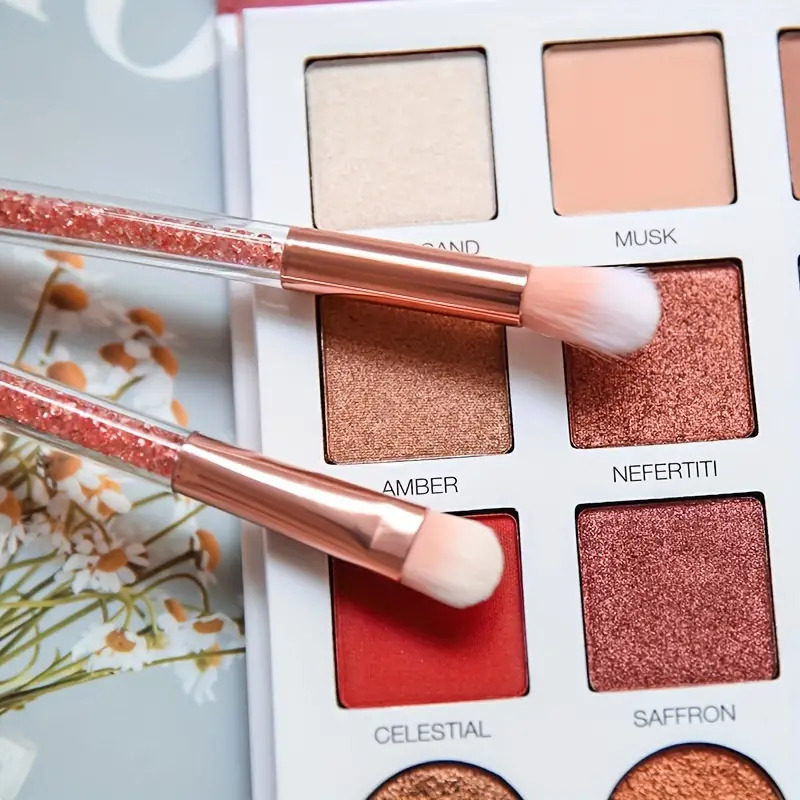
- An eyeshadow palette with both matte and glitter or shimmer shades
- A quality eyeshadow primer
- A flat shader brush
- A small blending brush
- A small smudge brush
- Mascara and an eyelash curler
How to Recreate the Halo Eye
Step 1: Primer
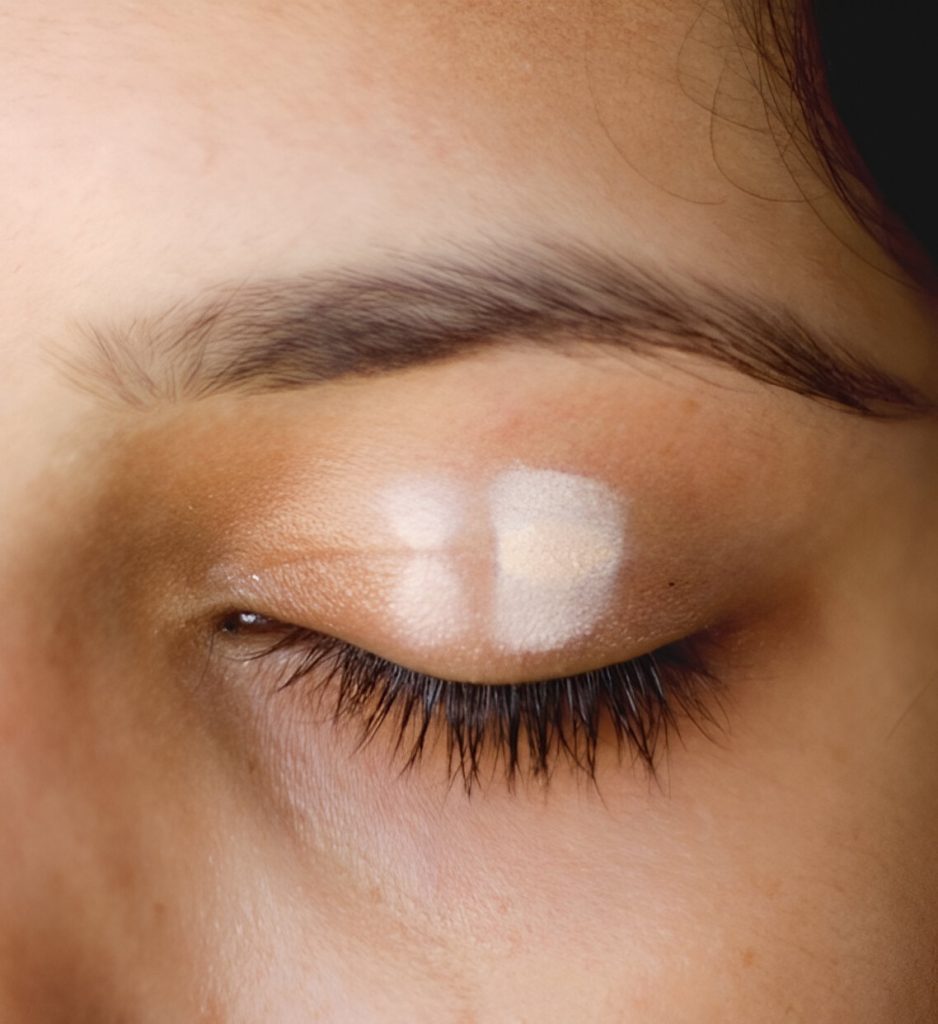
Start with a solid base by applying eye primer to the lids with a brush or clean finger.
Primer helps eyeshadow blend more evenly and last longer throughout the day. No primer on hand? Concealer works as a substitute.
Step 2: Lay down the matte base
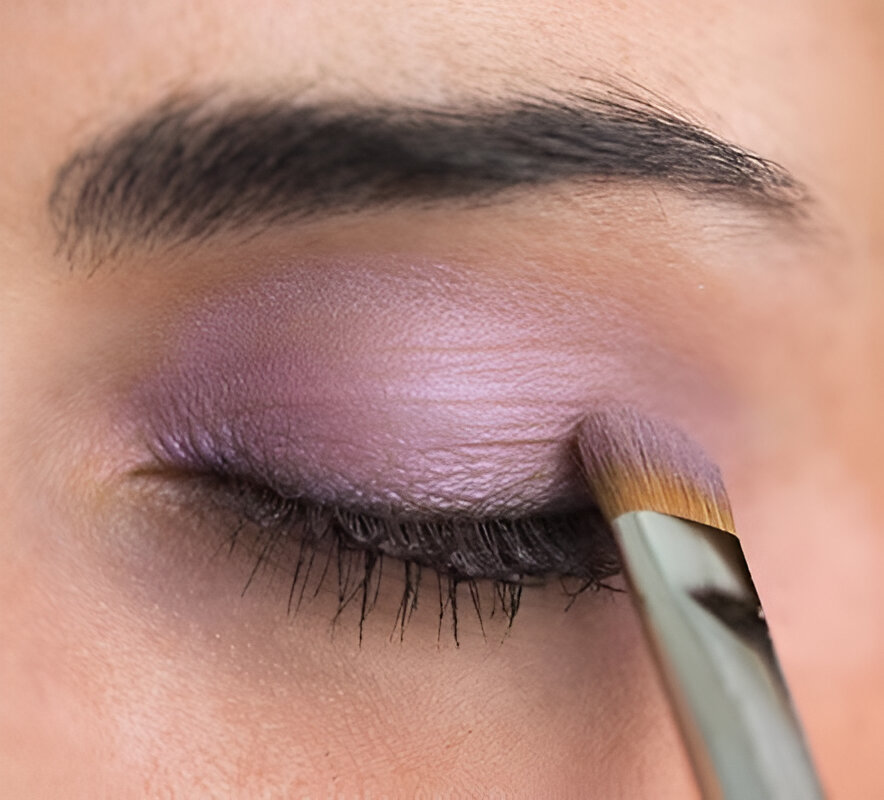
Apply matte shadow with a flat shader brush using gentle patting motions, covering roughly a third of the eye at both the inner and outer corners.
Leave the center of the lid bare for now. For a fuller smokey effect, the same shade can be swept along about half of the lower lash line too.
A small pencil or smudge brush helps keep the placement controlled and precise.
Step 3: Blend
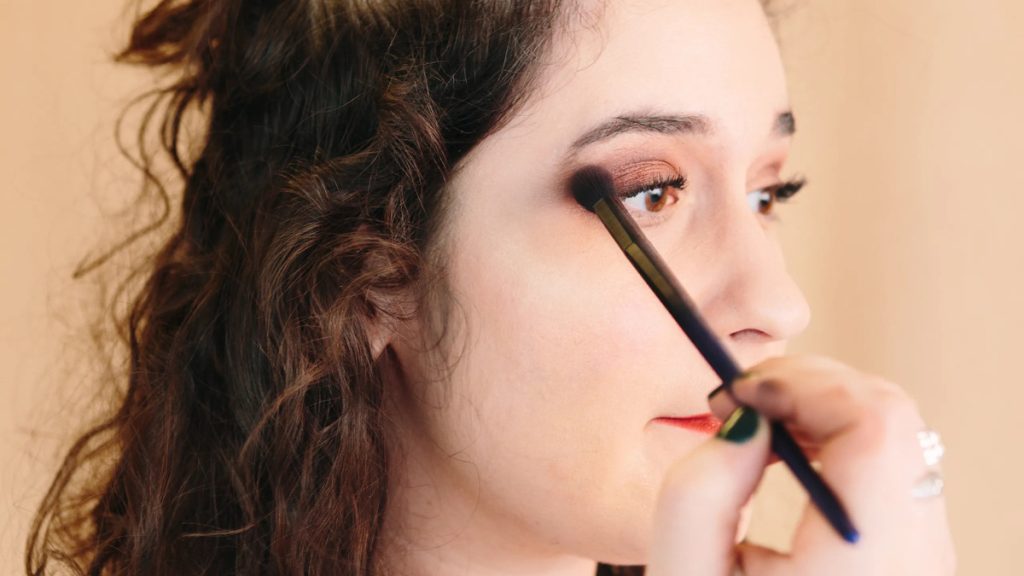
This is the step that makes or breaks the look. Using a blending brush, apply a medium matte shade into the crease of the eye.
Blend it out with back-and-forth motions, similar to a windshield wiper. Then use a smaller brush with the same shade to soften the dark eyeshadow along the lower lash line.
This step is what takes the sharp edges from the first layer and turns them into something smooth and gradient.
Step 4: Add the shimmer
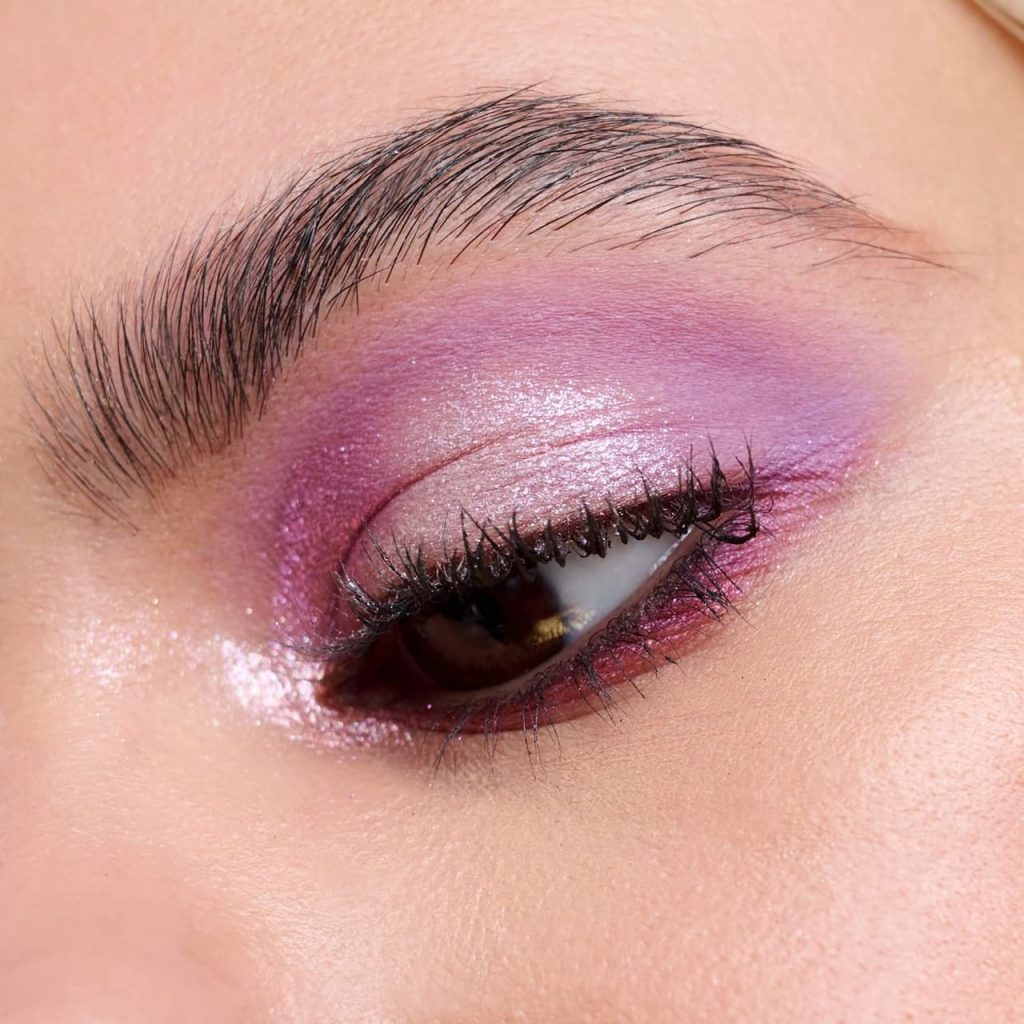
Shimmer is really the star of the halo eye. Use a clean, flat shader brush to pick up shimmer shadow and apply it to the center of the lid.
Lightly wetting the brush with makeup setting spray helps the pigment show up more vibrantly.
A smudge brush can also carry a bit of shimmer to the center area under the eyes for extra dimension.
Step 5: Finish the look
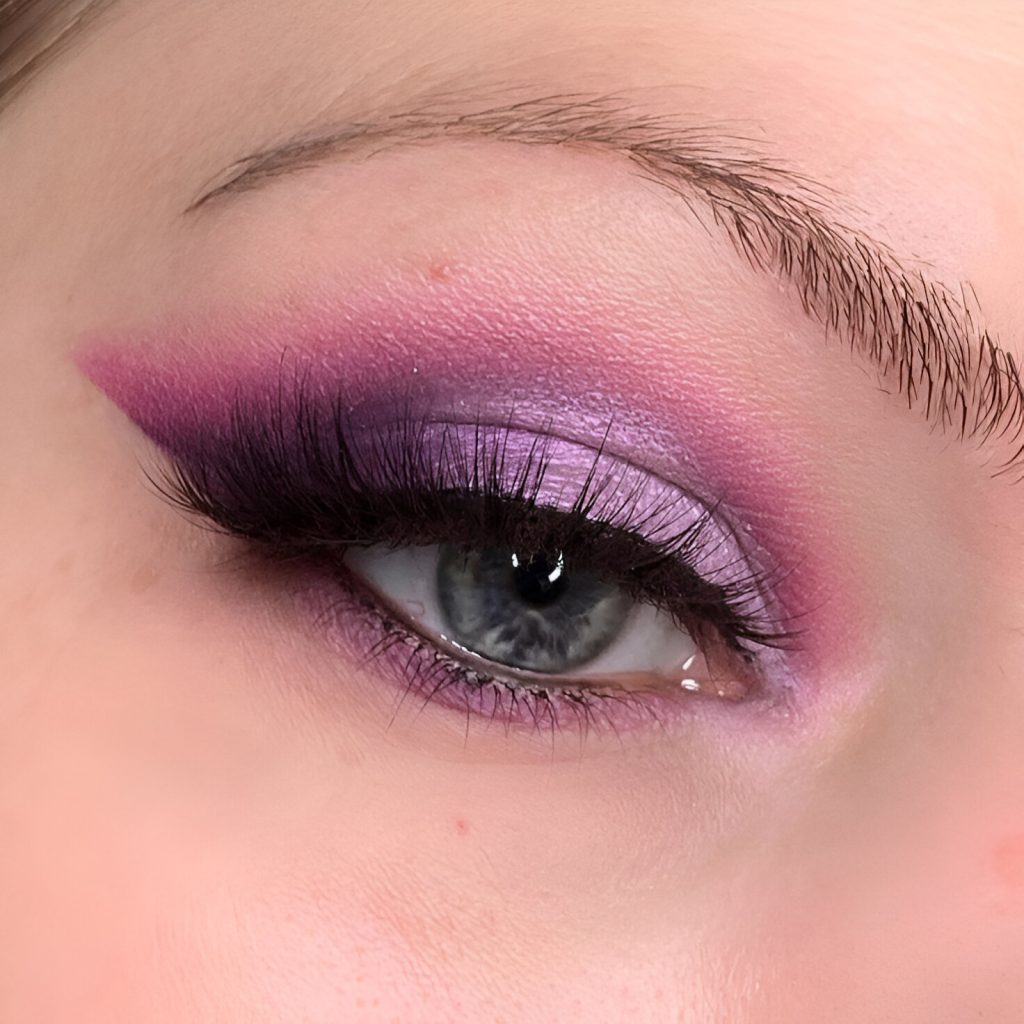
From here, it’s really about personal preference. For something more sultry, curl the lashes and add mascara to thicken them up.
False lashes take the glam factor up another notch if that’s the vibe you’re after.
A dramatic winged liner makes the look feel bolder and more statement-making, while a short, subtle wing keeps things softer.
Tips for the Best Halo Eye
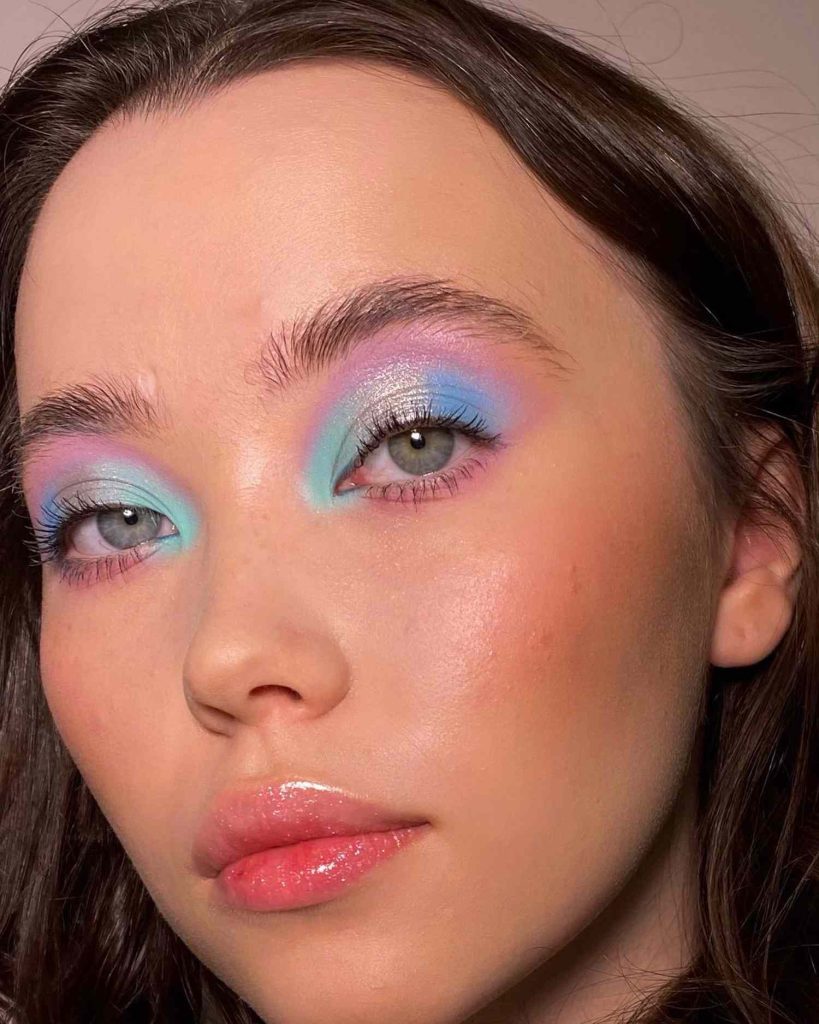
Bold colors tend to work best with this look. The darker the inner and outer corner shadow, the more dramatic the final result. Contrasting colors or vibrant shades are also worth experimenting with.
Pay attention to your natural eye shape, especially the roundness of the lid. The shape created by the eyeshadow should end up slightly rounded, so that looking down, the dark shades and center shimmer form something close to a semi-circle. That’s what creates the true halo effect.
A touch of highlighter in the inner corners can also make the eyes pop even more.
This look might feel a bit intimidating for beginners at first, but it gets easier with practice.
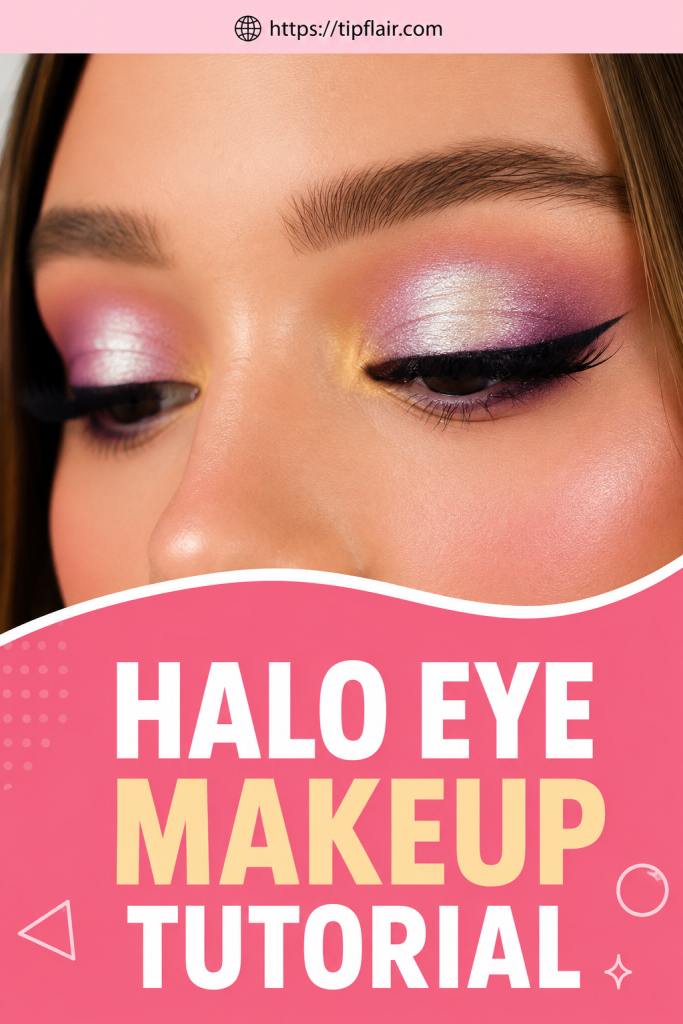
Switching up your eyeshadow routine is always fun, especially during the holiday season when sparkle and shimmer are everywhere anyway.