
How To Apply Eyeshadow And Slay Every Makeup Look Like A Pro
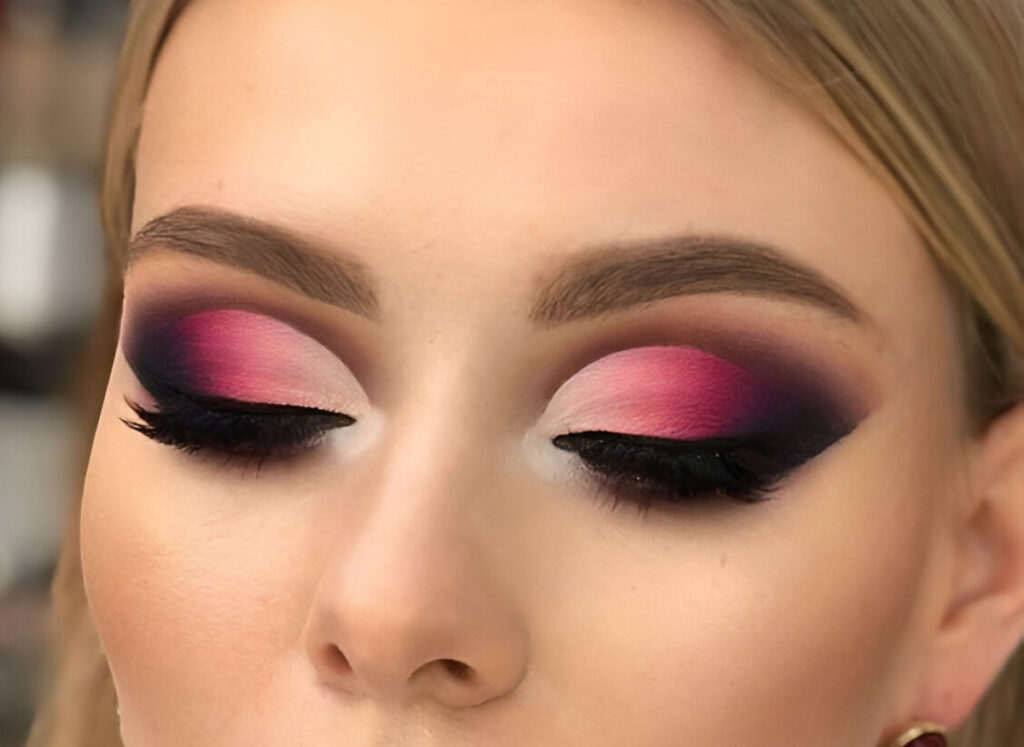
Eyeshadow can genuinely be a game-changer once you know how to use it. The way it’s applied really does make or break the whole eye look.
Done well, eyeshadow adds real depth and definition. But this technique can feel intimidating for anyone just starting out.
This guide breaks down exactly how to apply eyeshadow like a pro, so nailing your look gets a whole lot easier.
Once the fundamentals click, everything from smokey eyes to cut creases to glittery looks becomes far more approachable.
What You’ll Need
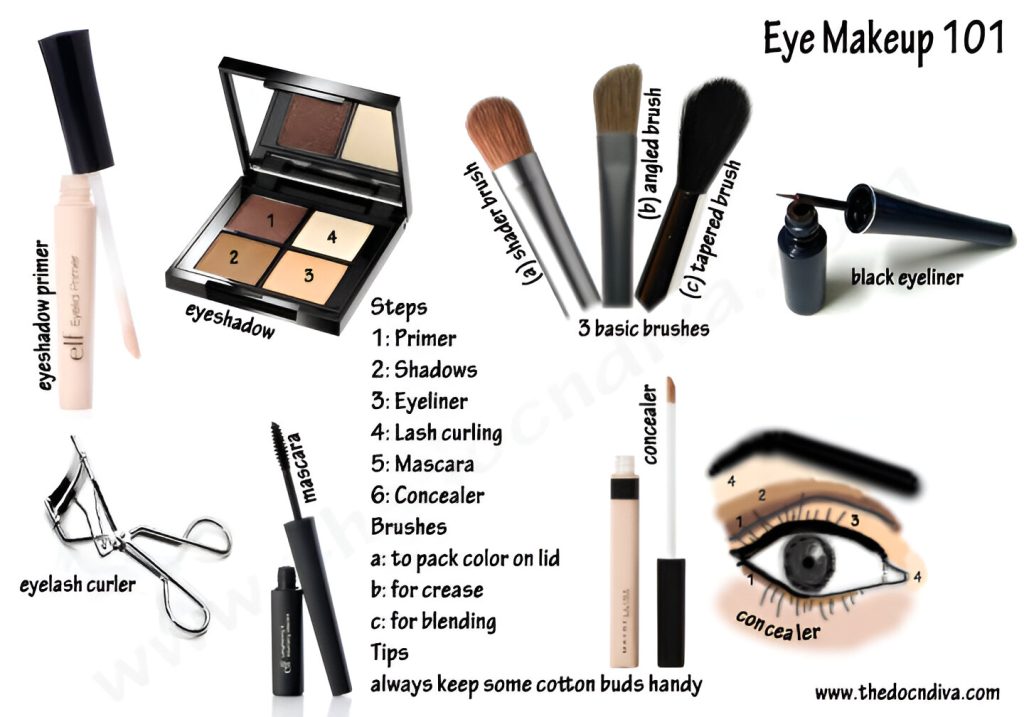
- Eye primer
- An eyeshadow palette
- A fluffy blending brush
- An angled eyeshadow brush
- An eyeshadow applicator
- Eyeliner
- False eyelashes
- Mascara
How to Apply Eyeshadow
Step 1: Prime the eyes
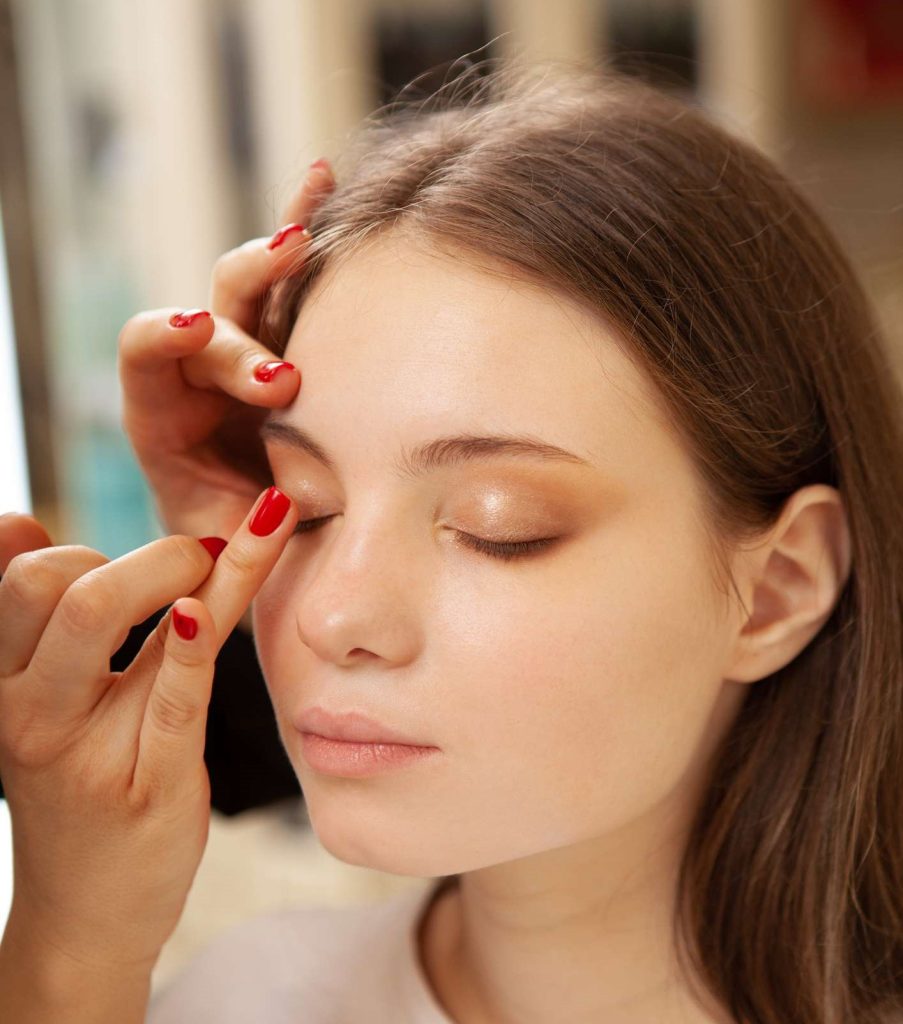
Everything starts with a clean base. Use a clean finger to apply eyeshadow primer to the lids.
No primer on hand? Concealer topped with translucent powder works as a substitute.
This step creates a smooth surface for eyeshadow to grip onto and stay put throughout the day.
Step 2: Apply the base
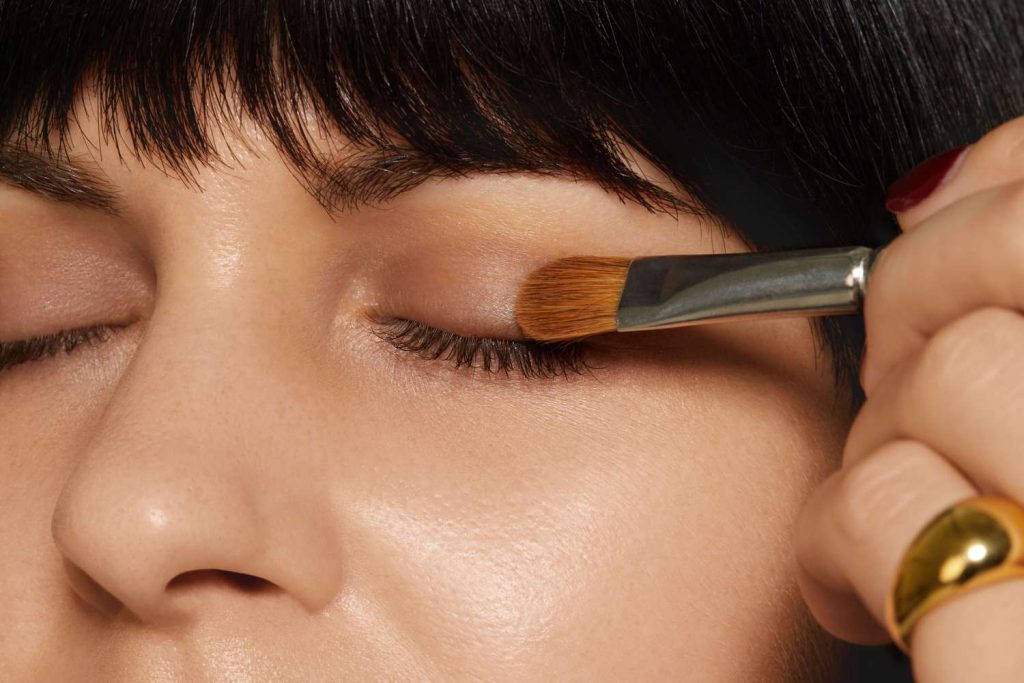
Sweep a nude eyeshadow that complements your skin tone across the lid using a fluffy brush.
Dip the brush into the pan, tap off any excess powder, then blend it onto the lids.
This keeps fallout to a minimum and prevents overloading the color early on. It’s always easier to build up more than to take away, so start light.
Step 3: Define the crease
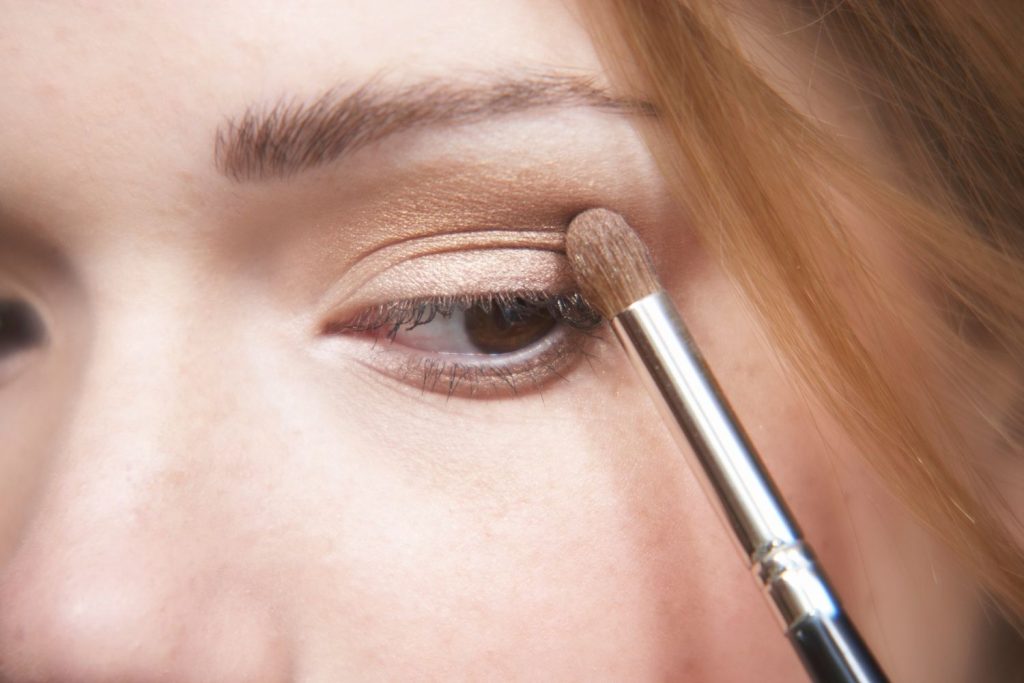
Add a medium-tone shadow into the crease and blend it out with the fluffy brush.
An eyeshadow applicator or crease brush works well for packing in color here. Always go a shade darker than the base.
The same shadow can be swept along the lower lash line too, blending it out toward the outer corners.
Step 4: Add color
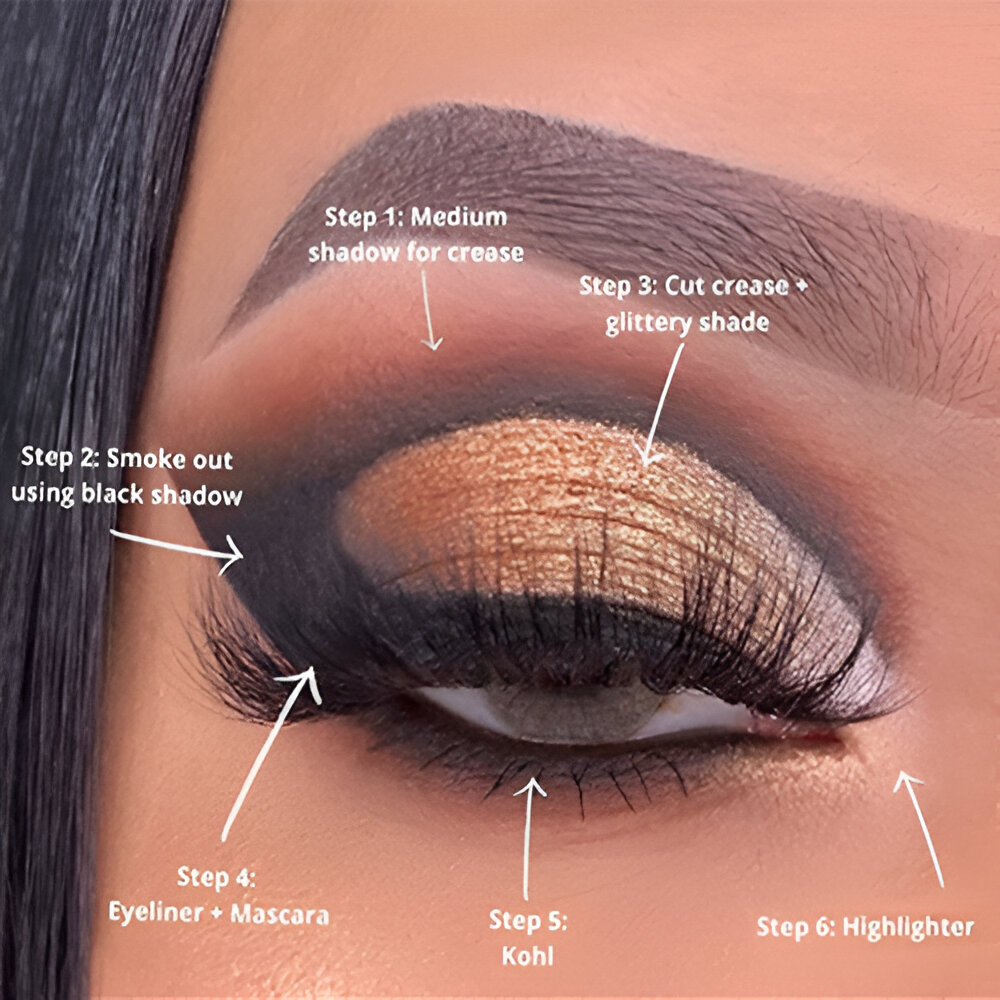
This is where the creativity comes in. For a sultry, smokey effect, use a darker shadow and extend it slightly past the crease.
The same shade works along the lower lash line for consistency. For something sharper and more subtle, keep the color concentrated at the outer corners only.
Experimenting with different color combinations here is a great way to develop a signature look.
Step 5: Blend and build depth
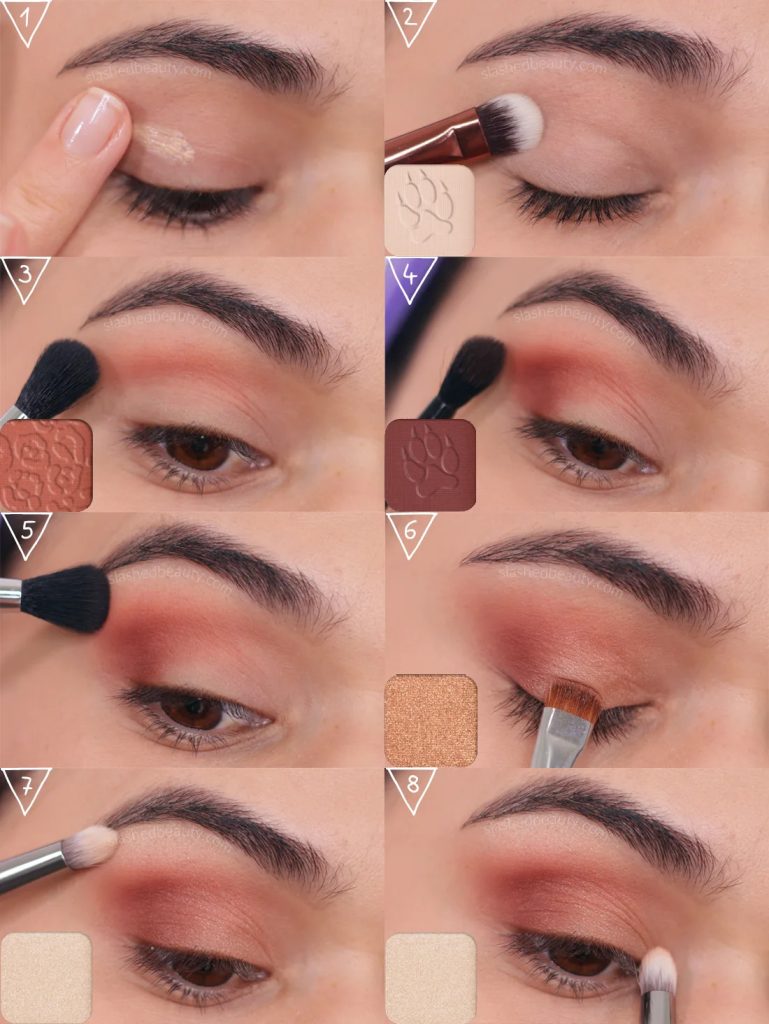
Blending really is the most important part, patchy eyeshadow is nobody’s goal.
Start with a light touch and a small amount of product, building up gradually rather than all at once. This makes the whole blend look smoother and avoids over-blending.
Adding darker shadow to the outer corners and crease deepens the overall effect.
For extra glam, a touch of glitter at the center of the lid and inner corners takes the look further.
Concealer paired with an angled brush helps clean up any stray edges for a crisp finish.
Step 6: Define the lower lash line
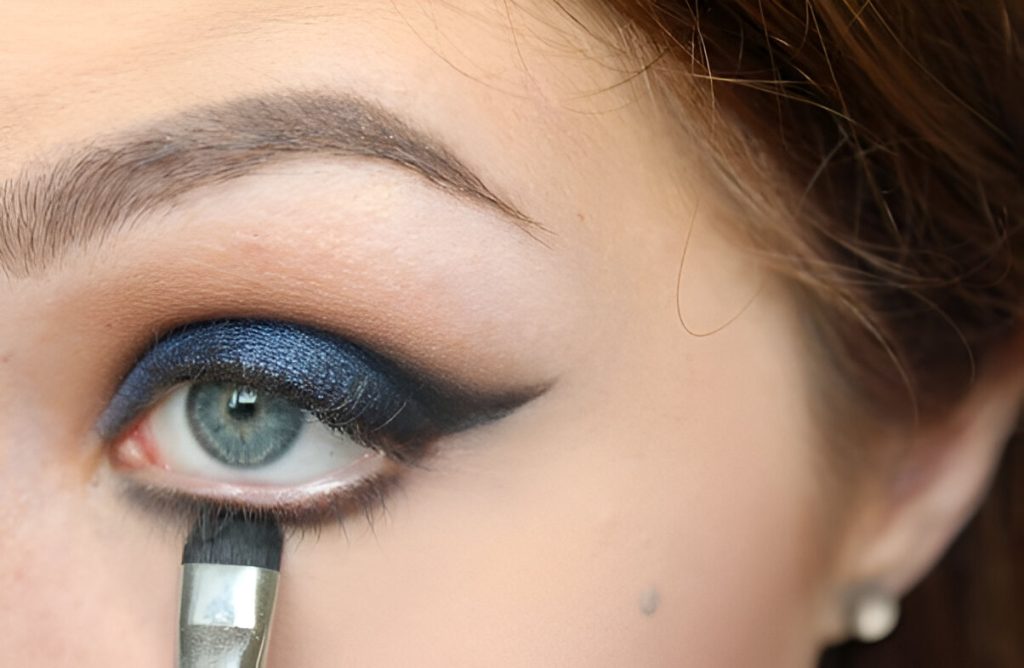
For a sexier, smokey finish, add brown kohl along the lower lash line, then smudge it out for a soft, dramatic effect.
Step 7: Finish with lashes
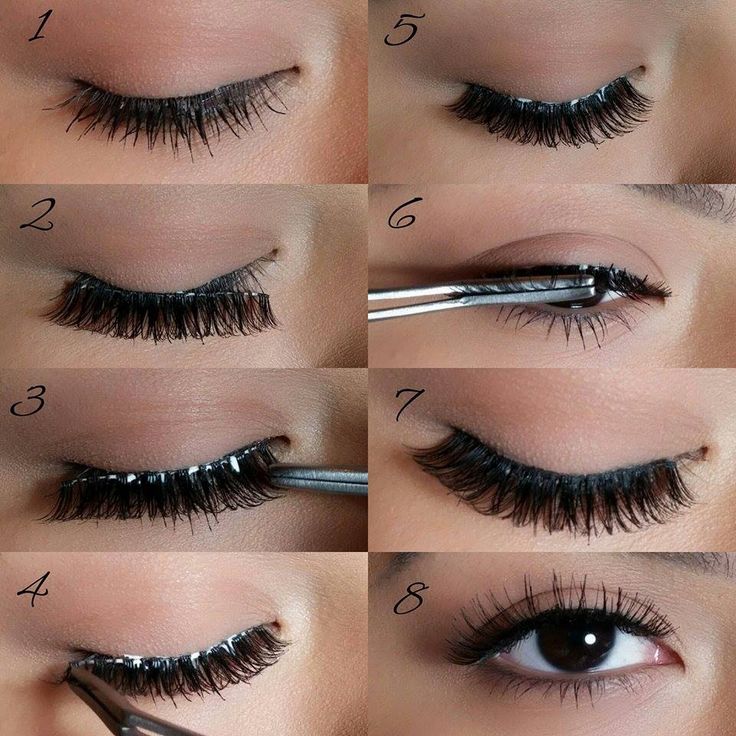
Lashes genuinely elevate the whole look, so don’t skip them. A favorite pair of falsies adds instant charm to the eyes.
Mascara, especially on the lower lashes, helps balance the whole look from top to bottom.
Tips To Apply Eyeshadow Easier
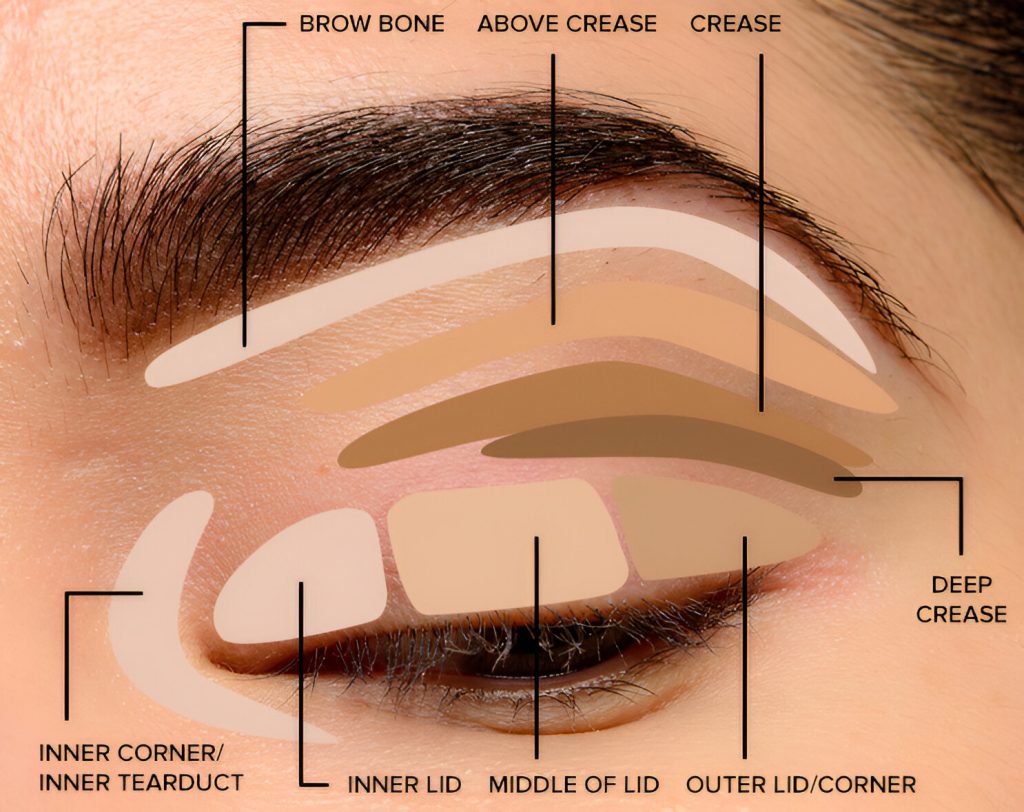
No eye primer and don’t want to use concealer? Cream eyeshadow makes a good substitute for priming the lid.
Lightly wetting the eyeshadow brush with setting spray helps pick up more pigment, especially useful for metallic or glittery shades.
Dusting translucent powder under the eyes before starting helps catch any eyeshadow fallout, simply brush it away once the eye makeup is done.
Clean brushes always blend better than dirty ones, so it’s worth keeping them in good shape.
If the eye look feels uncertain, doing it before the base makeup gives more room to fix mistakes without messing up the rest of the face.
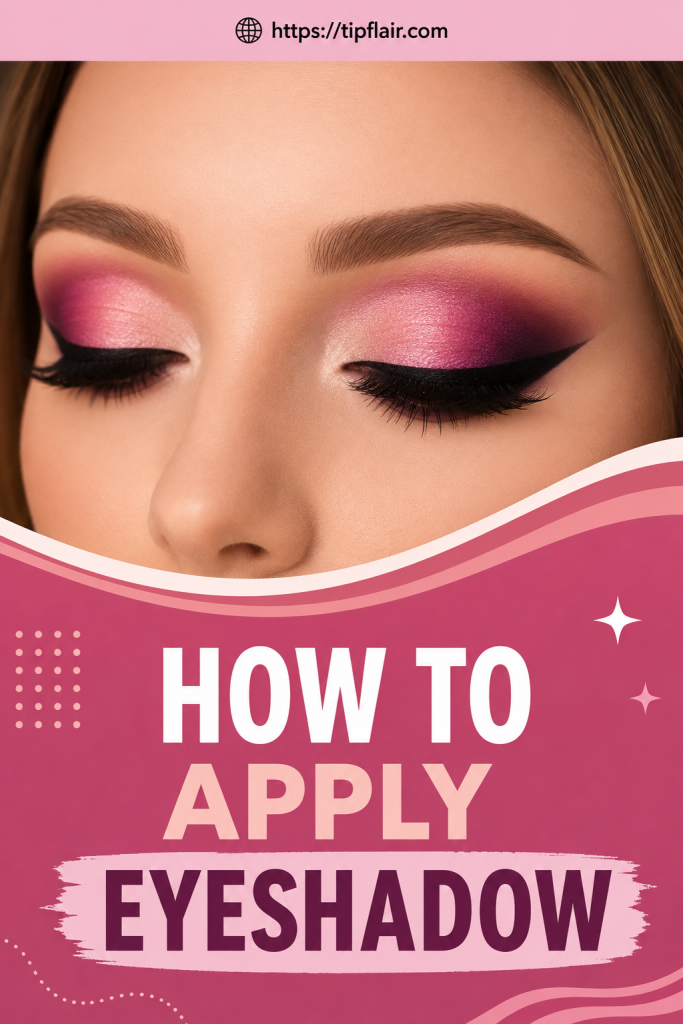
That’s the full process for applying eyeshadow like a pro. This same method adapts easily to a dramatic party look, a glittery statement eye, or a subtle everyday finish.