
How To Apply Lipstick Perfectly Everytime For Every Lip Shape
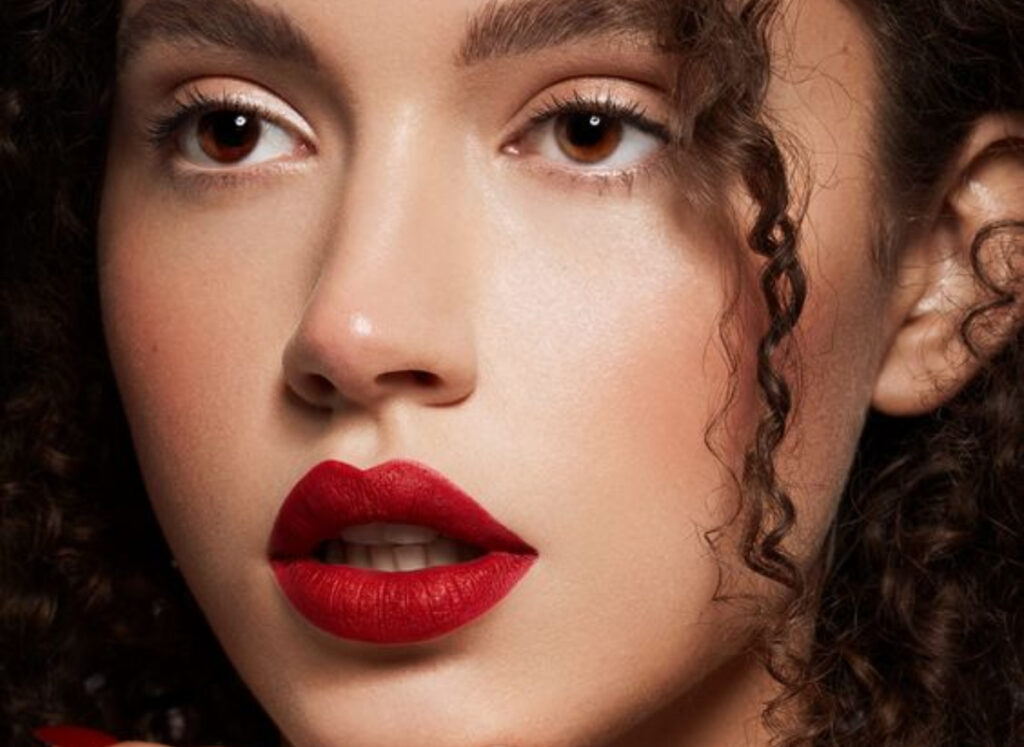
Lipstick has a way of elevating a whole look in seconds, but not everyone knows how to apply it in a way that really maximizes the effect.
This seemingly simple step is trickier than it looks. It takes some precision, technique, and a bit of practice to get consistently right.
Applying lipstick carelessly, without understanding the basics, often leaves lips looking flat and unflattering.
If lipstick never quite looks the way you want once it’s on, there’s a good chance the application itself is the issue, not the product.
Here’s a rundown of the best tips from makeup professionals to help lipstick look great every time.
What You’ll Need
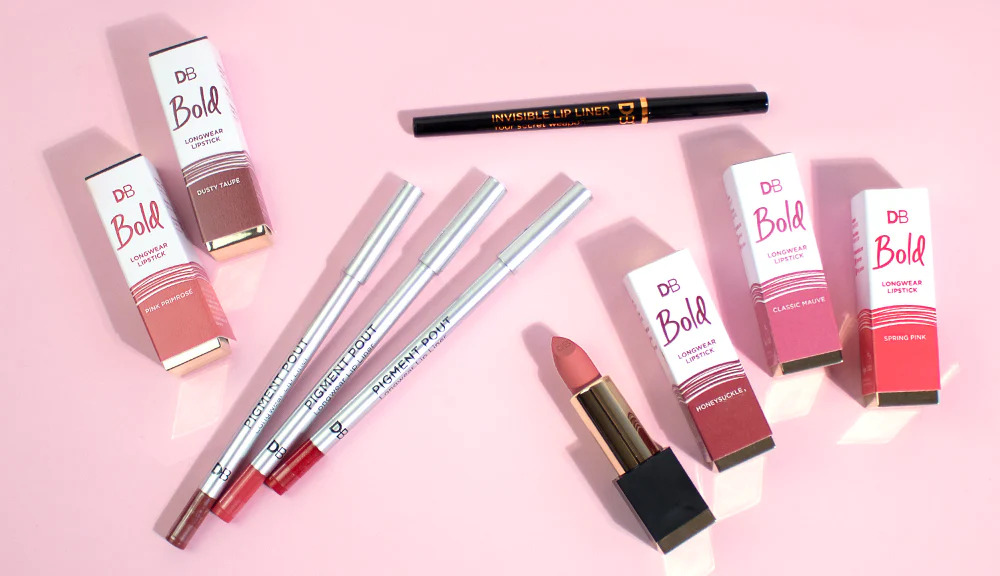
A few key tools help lips stay looking great throughout the day, keeping everything neat, polished, and low-maintenance.
- A nourishing lip balm or lip conditioner
- A lip liner
- Concealer
- Setting powder
- Your favorite lipstick
How to Apply Lipstick Like a Pro
Step 1: Prep the lips
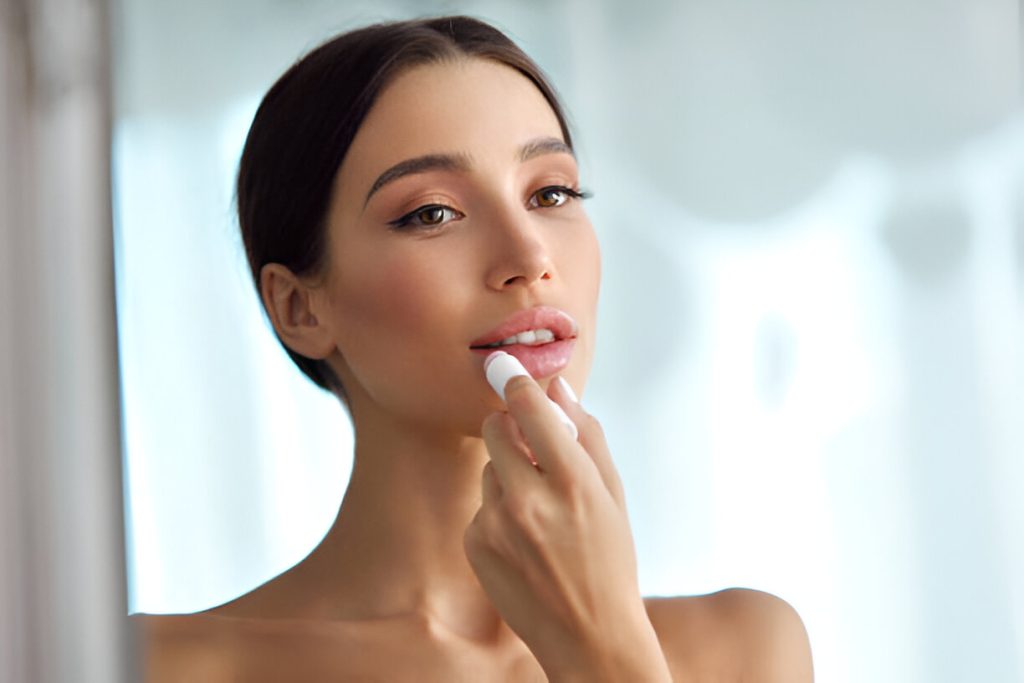
Preparation matters more than most people realize. Even the best lipstick won’t look good over dry, chapped lips.
Exfoliating and nourishing with a lip balm keeps lips soft and supple beforehand. A sugar scrub works especially well as part of this routine.
Step 2: Apply a base
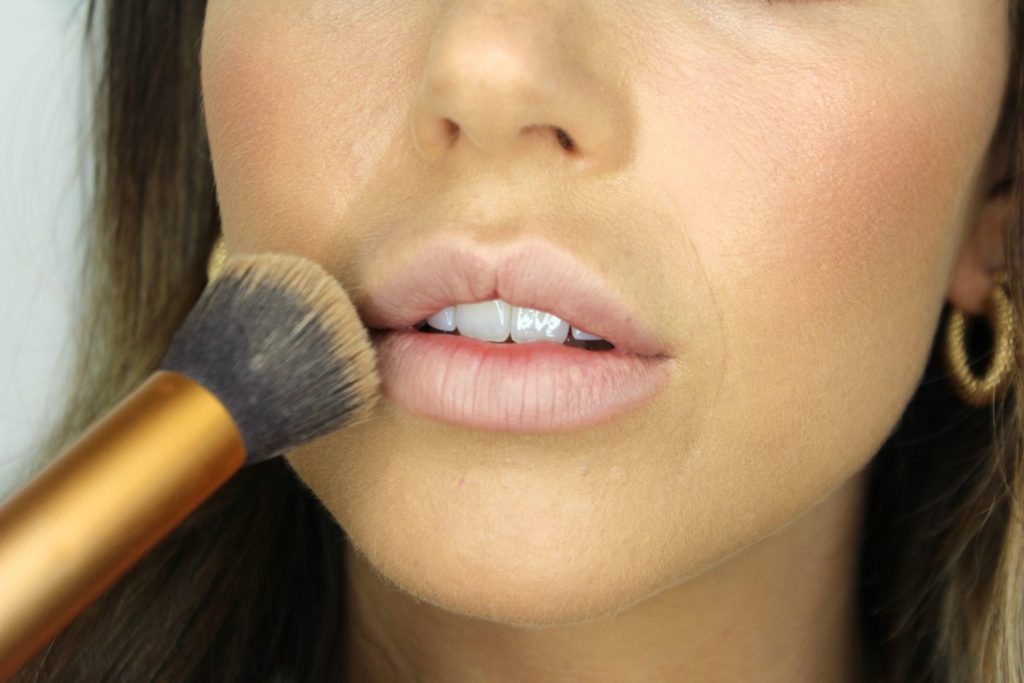
For a truly pigmented, poster-worthy finish, apply concealer to the lips before lipstick. This creates a base for the lipstick to grip onto and evens out any natural discoloration.
The color pays off more vibrantly this way. A light dusting of powder over the concealer seals the base before the lipstick goes on for maximum impact.
Step 3: Use a lip liner
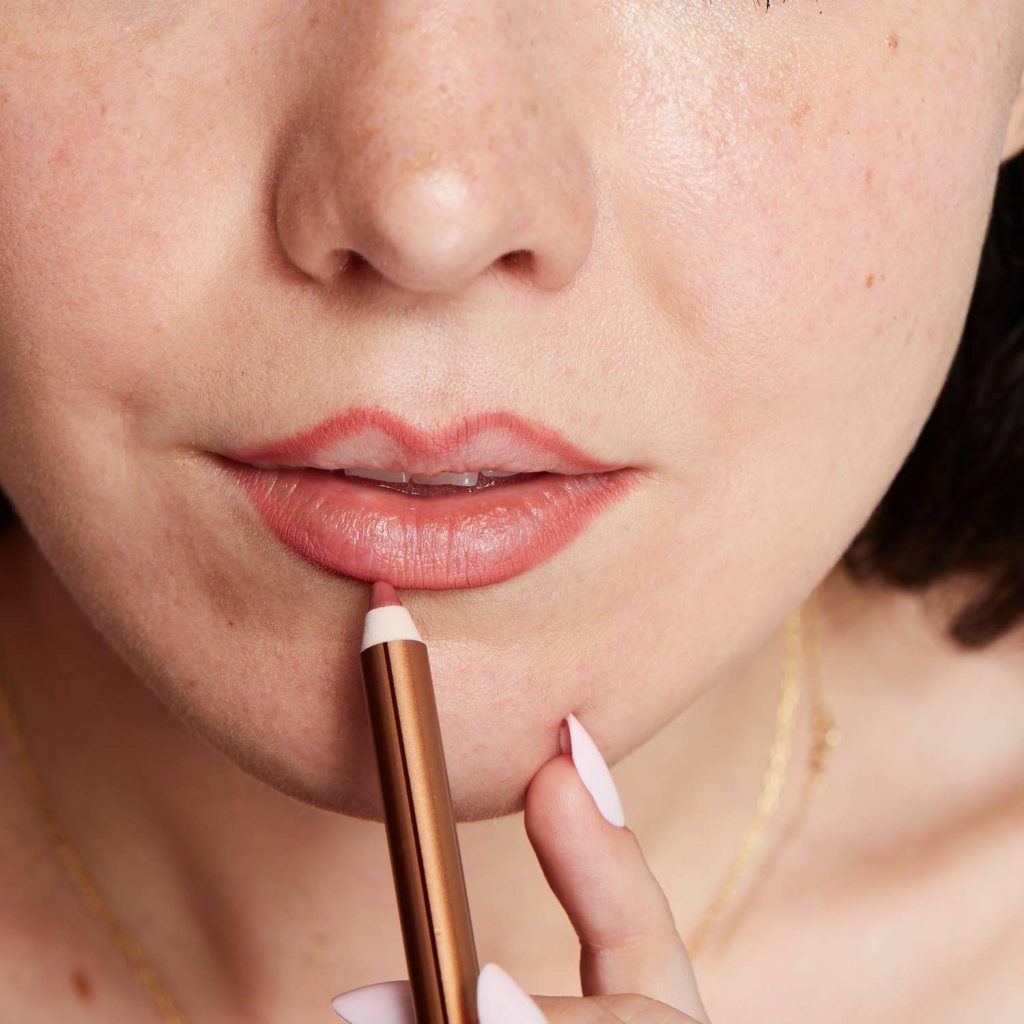
Lining the lips helps define and reshape them, creating a fuller appearance while also keeping the lipstick from bleeding or smudging.
A good method is drawing an “X” shape on the upper lip just below the cupid’s bow, then following the natural lip line from there.
This technique makes the cupid’s bow stand out and helps create a more defined pout.
Step 4: Apply the lipstick
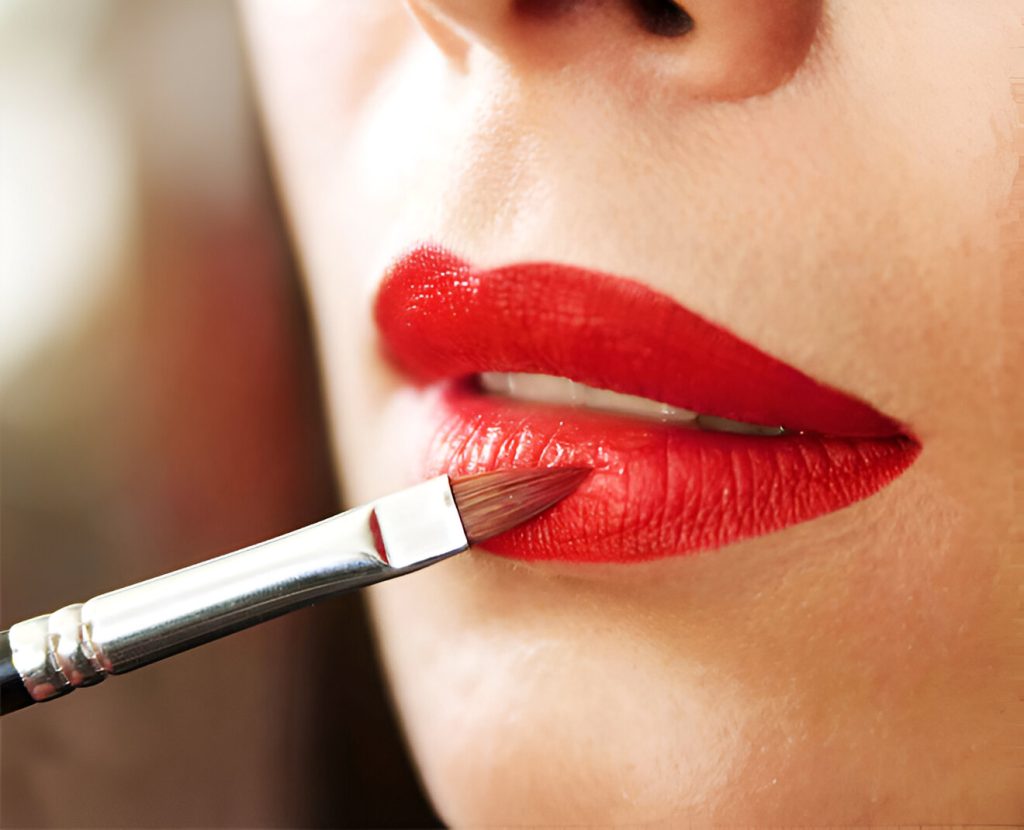
A lip brush offers the most control and helps avoid smudging, especially around the inner corners.
Build the color up layer by layer until reaching the desired intensity. With a high-quality formula, one coat is often enough.
Step 5: Add definition
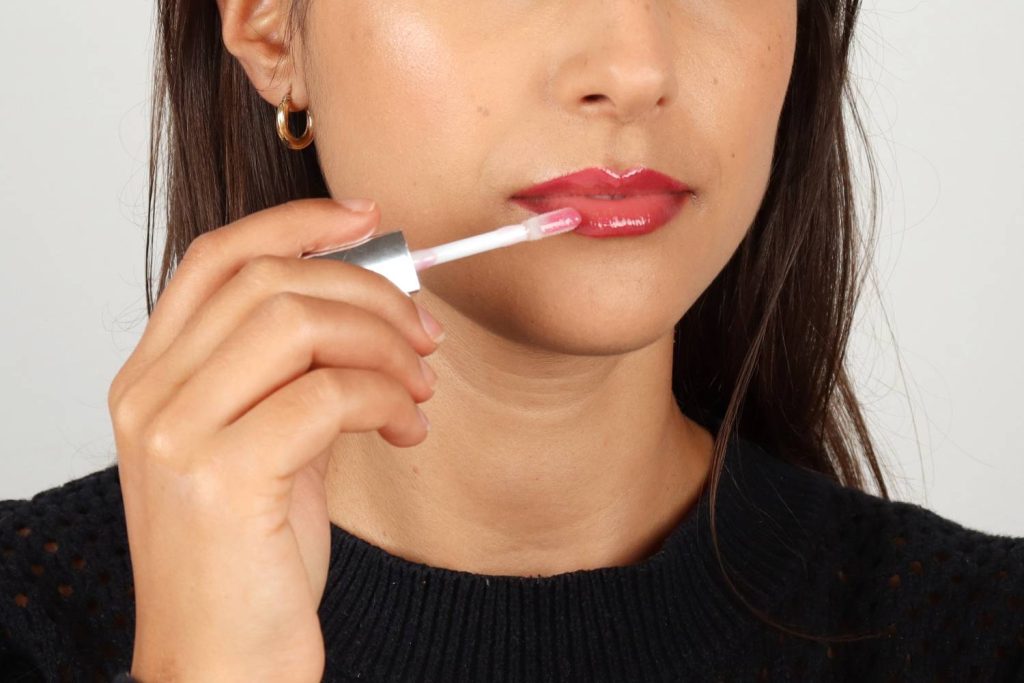
For a sharper, bolder finish, a bit of concealer around the edges of the lips can further define the shape.
For a fuller, more pouty look, apply a lighter lipstick shade to the center of the lips, then finish with a layer of gloss.
How to Apply Lipstick for Small Lips
Step 1: Prime the lips
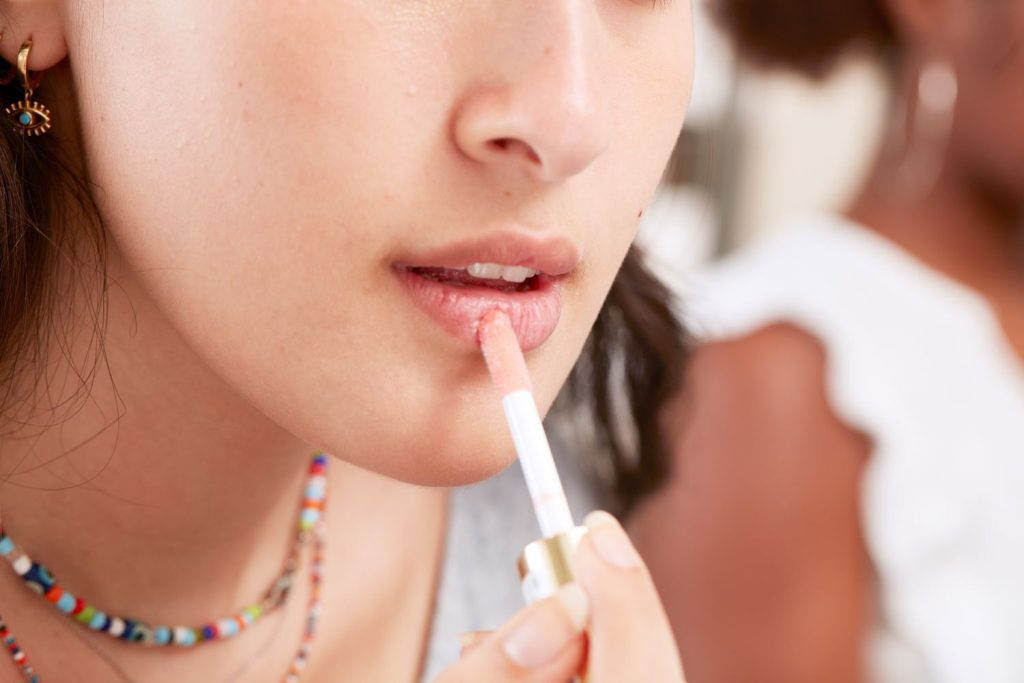
A primer helps lipstick last longer and creates an even base for a smoother, more flawless finish, worth not skipping.
Step 2: Outline
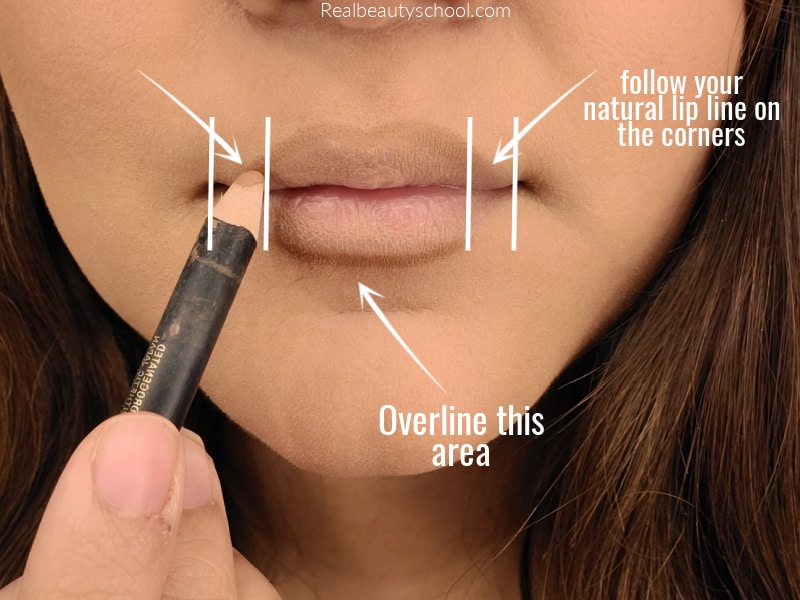
Lining the lips is a great way to create the illusion of fullness without any filters or fillers involved. Match the liner shade to the lipstick color.
Darker lip liners tend to make lips look even smaller, so it’s best to steer clear of them here.
Step 3: Highlight
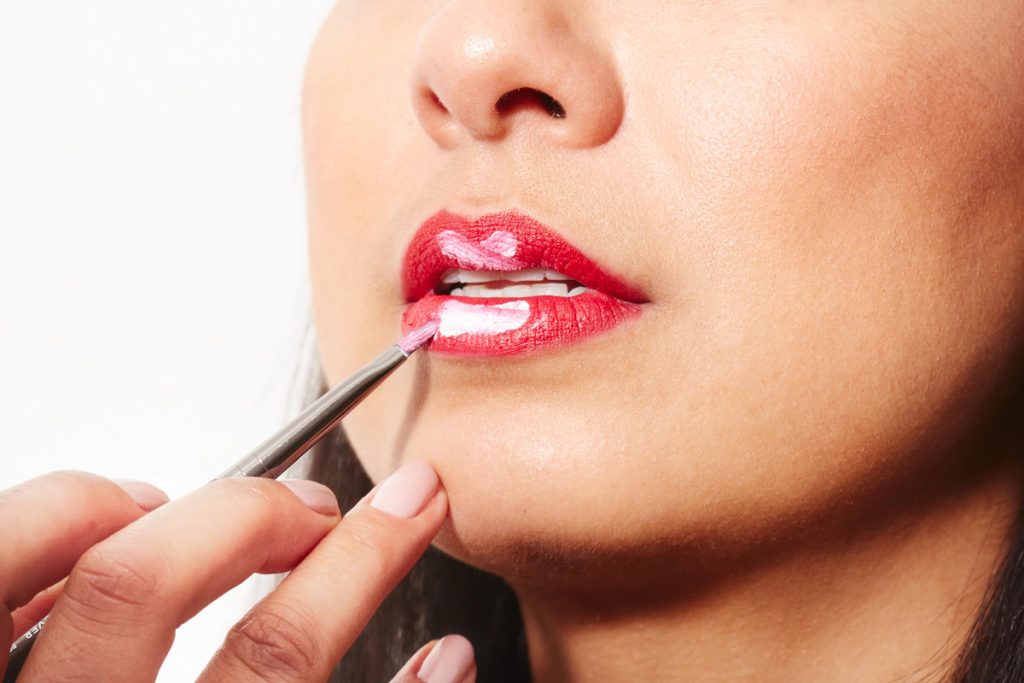
A touch of highlight adds extra pout to smaller lips. A lighter shade applied to the center of the lips creates more dimension and makes them look fuller.
A bit of highlight on the cupid’s bow also helps the upper lip stand out more.
How to Apply Lipstick on Dark Lips
Step 1: Conceal
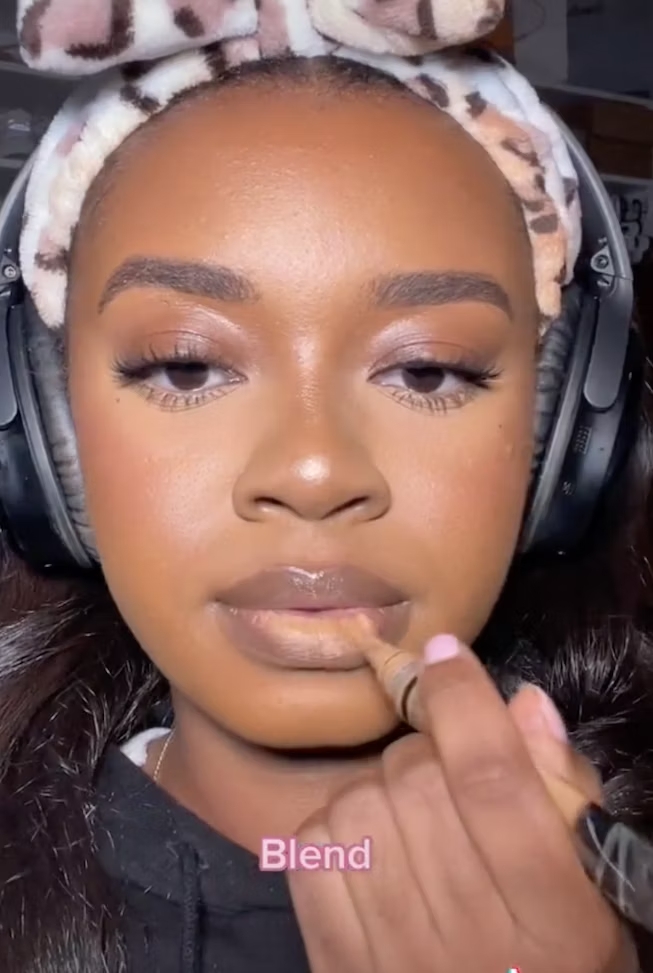
Natural lip color affects how lipstick pigment shows up on top. Applying concealer first neutralizes any discoloration and evens out the base, the difference this makes is often surprising.
Step 2: Line the lips
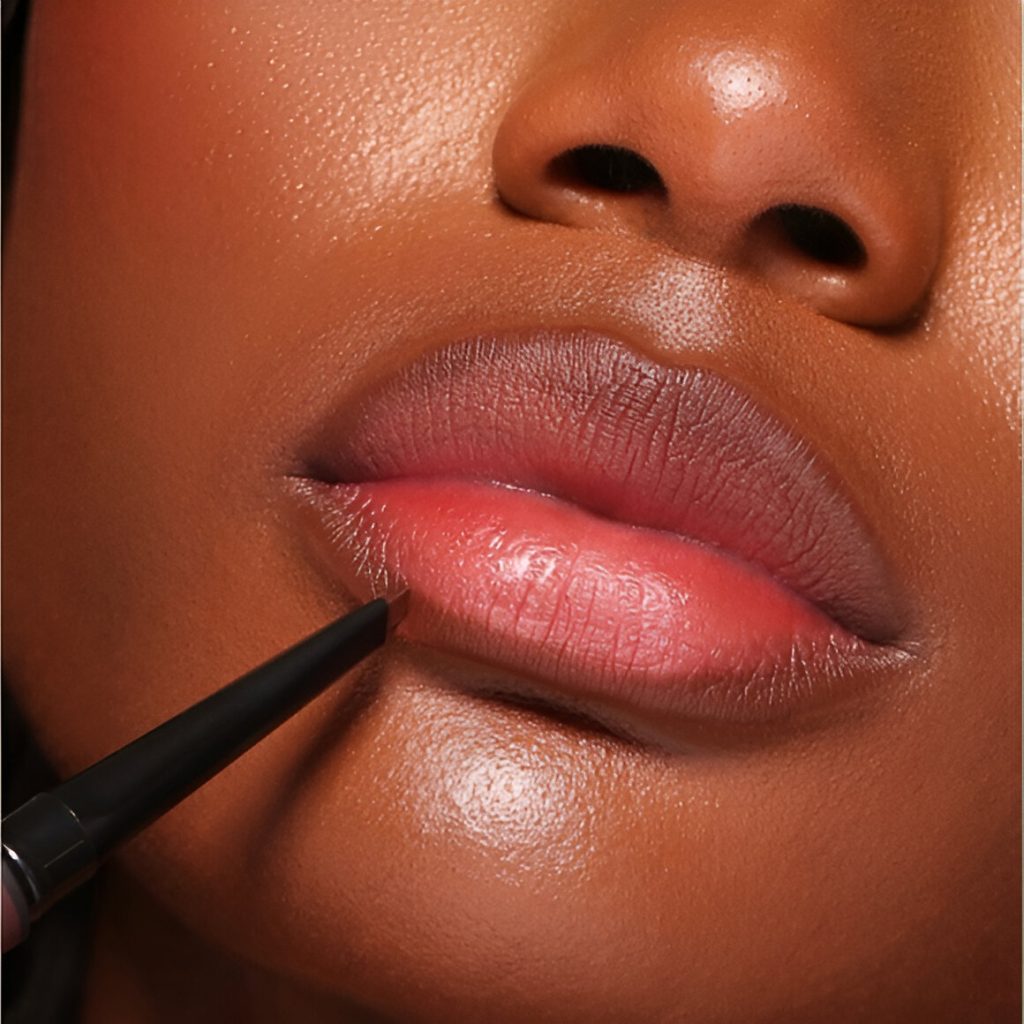
Use a lip liner that matches the lipstick shade and gently trace the natural lip line, forming a small cross or “X” just beneath the cupid’s bow to accentuate the shape.
Step 3: Apply the lipstick
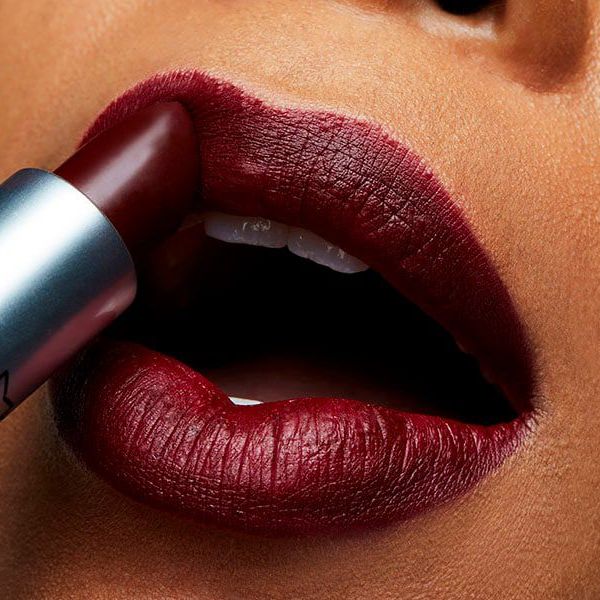
Building the lipstick up in layers helps the pigment show through more fully. Non-glossy formulas tend to hold up better and last longer than creamy or glossy options in this case.
How to Apply Lipstick Without a Lip Liner
No lip liner on hand? No problem, here’s a workaround.
Step 1: Use a finger
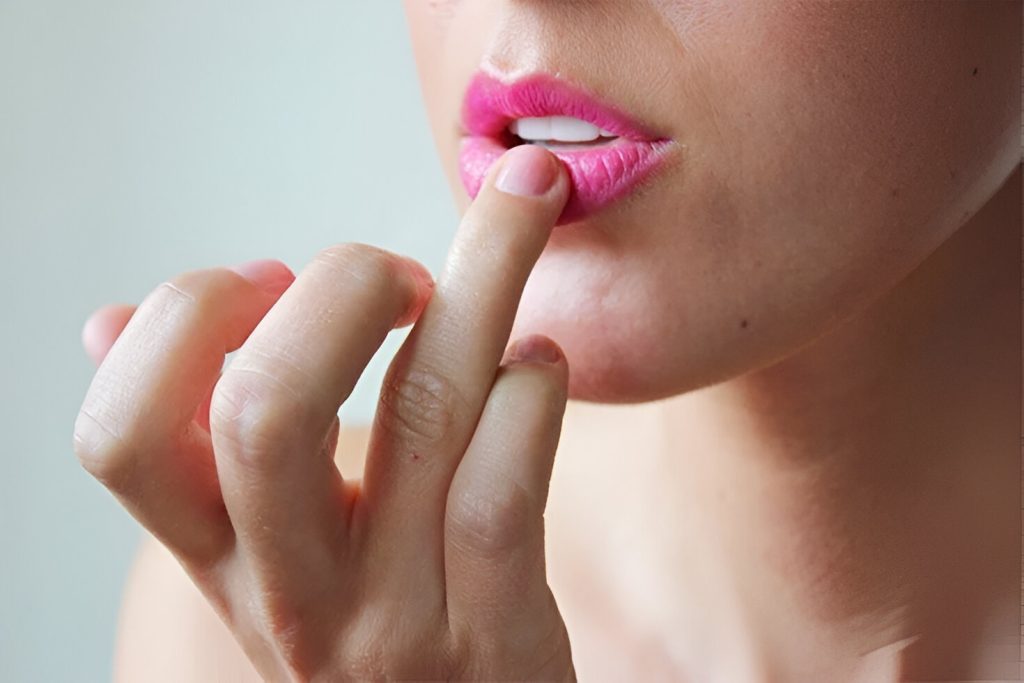
Rub a ring finger into the lipstick and press it firmly onto the lips, following the natural lip line as you go.
This creates a natural, mess-free finish without needing a liner at all.
Step 2: Finish the look
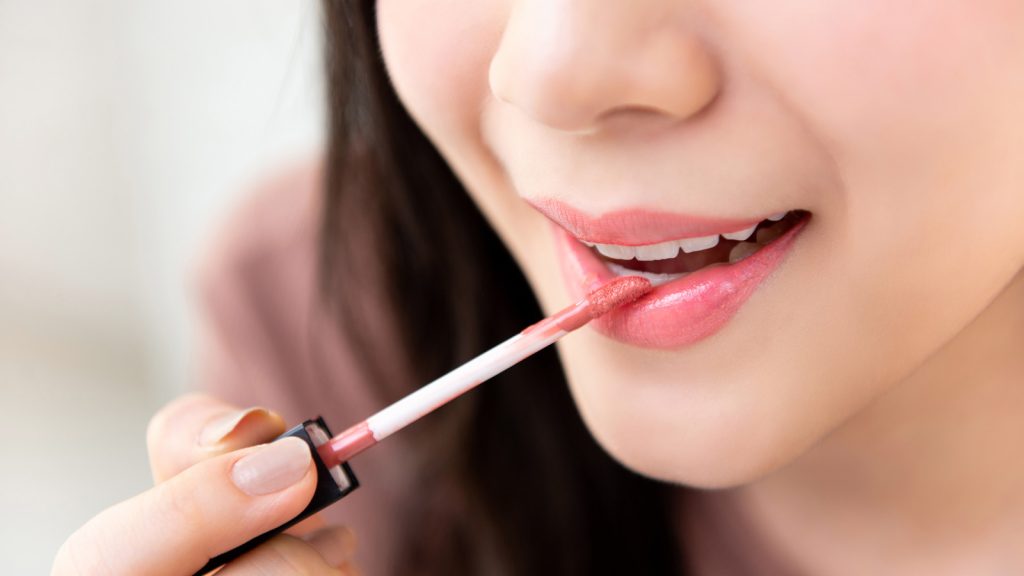
For more pigment, a brush works well for touch-ups, layering the product until the color looks right.
This trick is also a great time-saver whenever you’re in a rush.
Frequently Asked Questions
What kind of lipstick is best for beginners?
A moisturizing formula, like a tinted lip balm or gloss, is generally the easiest to work with when starting out.
How do different lipstick types look on the lips?
Lipstick comes in several finishes, matte, metallic, sheer, and gloss, each with its own effect. Matte delivers intense, full color, metallic adds a shimmering glam finish, gloss brings shine, and sheer formulas look more natural.
How do I choose the right lipstick shade for my skin tone?
Cooler undertones tend to look best in shades with a purple base, while warmer undertones look great in shades with a yellow or red base.
Knowing how to apply lipstick well can genuinely make lips look fuller and more defined.
It ties the whole makeup look together and adds a noticeable amount of polish, so it’s worth getting the technique down.